These mooncakes are vegan, gluten-free, naturally sweetened, and naturally colored. Hope everyone has had a great start to the New Year. I’ve had to take a break for the past few months to focus on my health and family. Plus those months of November and December are always a little rough when you have kids in school. Always catching something and bringing it back home. Hope everyone has been safe during the holiday break.
Lunar New Year is coming up and I wanted to make a mooncake recipe that I could eat and gift to family, plus I’ve been craving them. I’ve been wanting the traditional ones that are baked and have that golden crust. So I figured I’d take my snowskin recipe and air fry them to get that nice crispy texture. But since it’s made out of glutinous rice flour this also gives it that lovely oh so gooey texture. I absolutely love red bean filling though I wanted to give this one a little kick in flavor and crunch by adding roasted hazelnuts. These two flavors complement each other really well. The hazelnut really elevates the flavor of the red beans and gives it such a lovely texture and tastes amazing together.
Recommendations
The special kind of glutinous rice I use in this recipe is called Shiratamako Sweet Rice Flour and is only produced in Japan. It’s made from mochigome, glutinous short-grain Japanese rice. It does not dry out in the fridge like other brands do. It has a wonderful texture that holds really well so I highly recommend this for any mochi recipes you may have. You could find this in specialty Japanese markets. But I was able to find it at a specialty online store called Yummy Bizarre that sold international foods. The price was pretty reasonable and I’ll link it here.
Only air-fry or bake ones that you’ll eat right away. These are best fresh from the air-fryer. They also taste great without baking for the traditional snowskin texture.
If you don’t have an air-fryer you could also bake these at 375 degrees F for 15 – 20 min or until golden in color.
How It’s Healthier
- I use natural sugars like date sugar and maple syrup instead of the traditional white cane sugar.
- I use beet powder and to naturally add color to the dough to give it that lovely red and yellow color.
- The dough is gluten-free by using my snowskin recipe
- Completely plant-based by using using almond milk
- I use coconut oil and avocado oil for air frying.
How-To Video
How To Make Red Bean Hazelnut Mooncakes
What you’ll need:
Filling
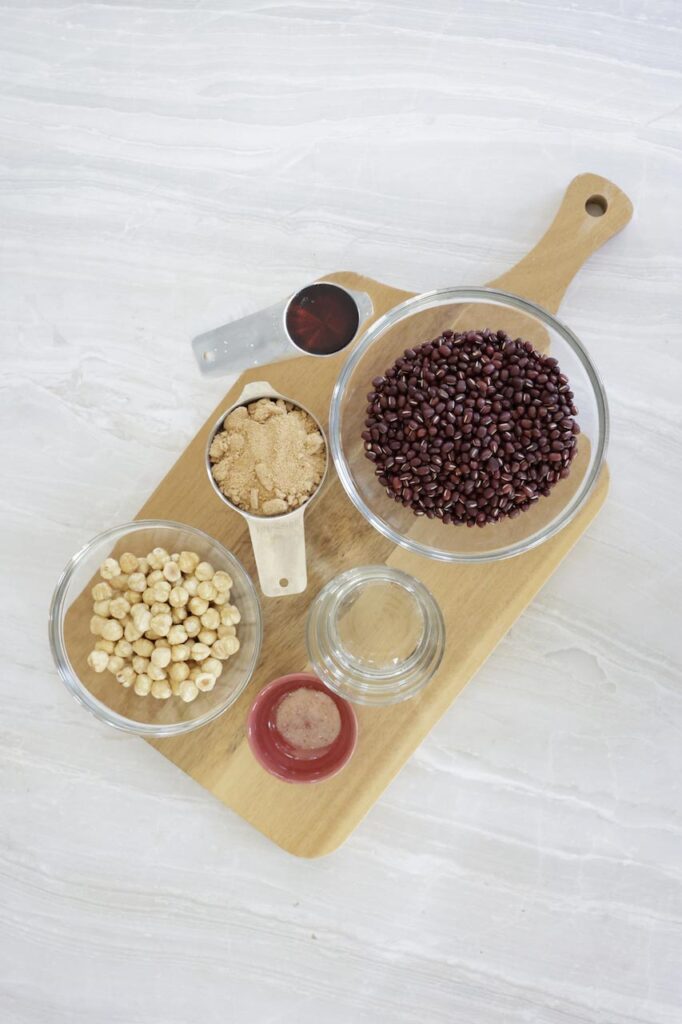
- 2 cups adzuki beans (400 g)
- 8 cups water (1893 ml)
- 1 1/2 cups date sugar (292 g) add more if you’d like it sweeter
- 1/4 tsp pink Himalayan salt can also use sea salt or table salt
- 2/3 cups roasted hazelnuts chopped (53 g)
- 1/4 cup maple syrup (78 g)

Wrapper Dough
- 2/3 cup arrowroot starch (70 g) can also use tapioca starch, or corn starch
- 1 1/3 cup rice flour (150 g)
- 1 1/3 cup glutinous rice flour (150g)
- 2/3 cup maple syrup (150 ml)
- 1 1/2 cup almond milk (350 ml) can also use oat milk or any plant-based milk
- 1/2 cup coconut oil (90 g)
- 1/2 tsp red beet powde, for added color
- 1/2 tsp yellow safflower powder, for added color
Filling
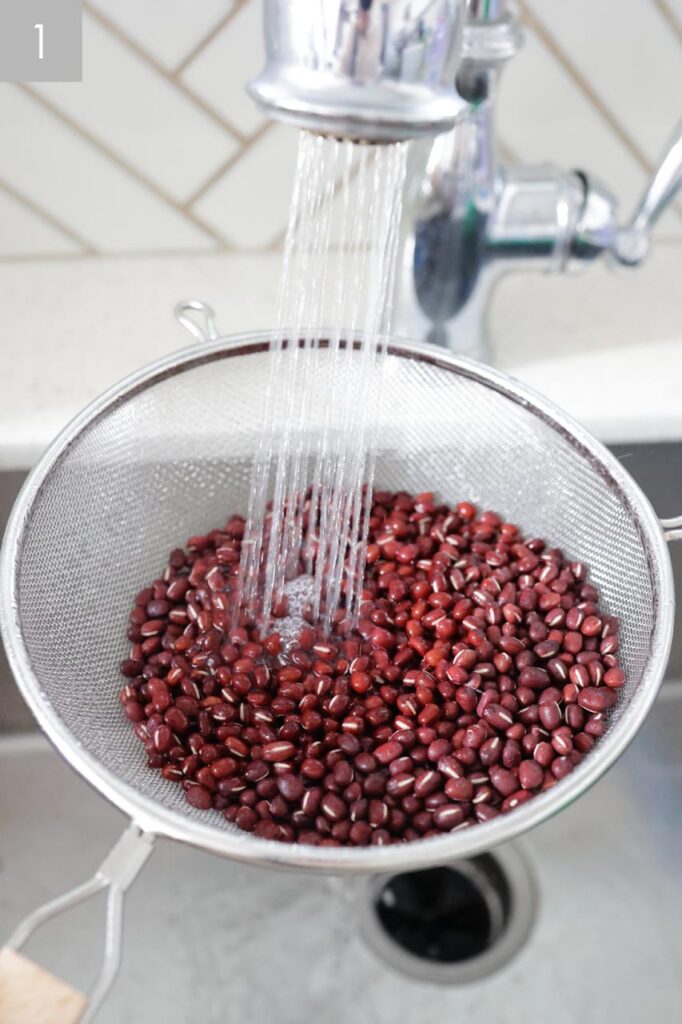
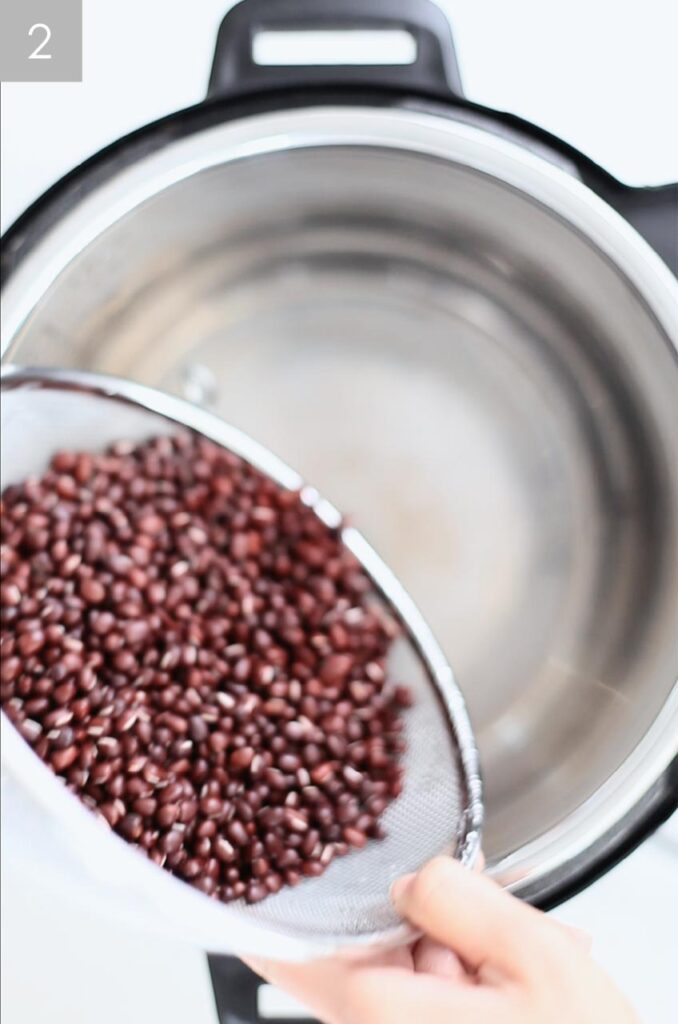
- Rinse the red adzuki beans with water. Place the rinsed beans into the instant pot pressure cooker. Close and make sure pressure release is sealed. Cook on Bean or Manual setting for 30 min. After 30 minutes let it release pressure naturally, about 12 min.
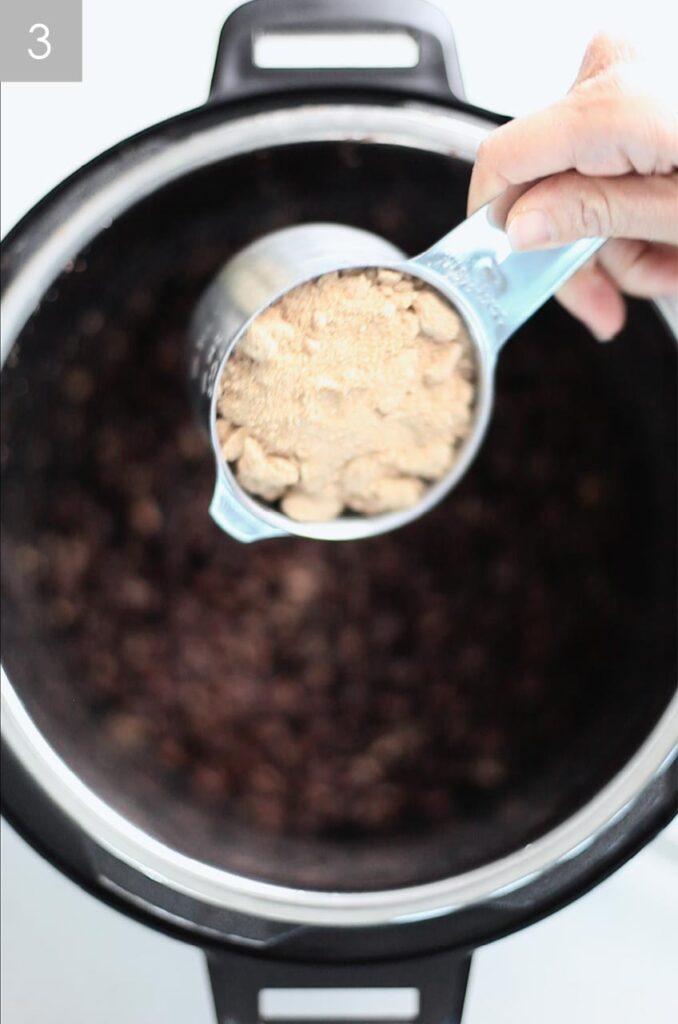
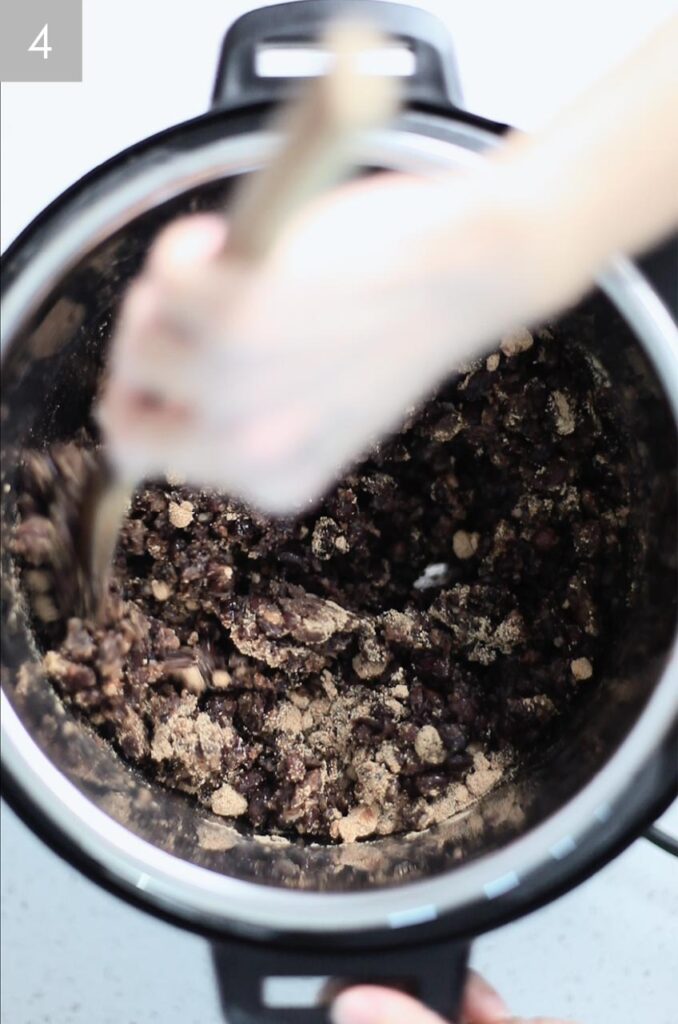
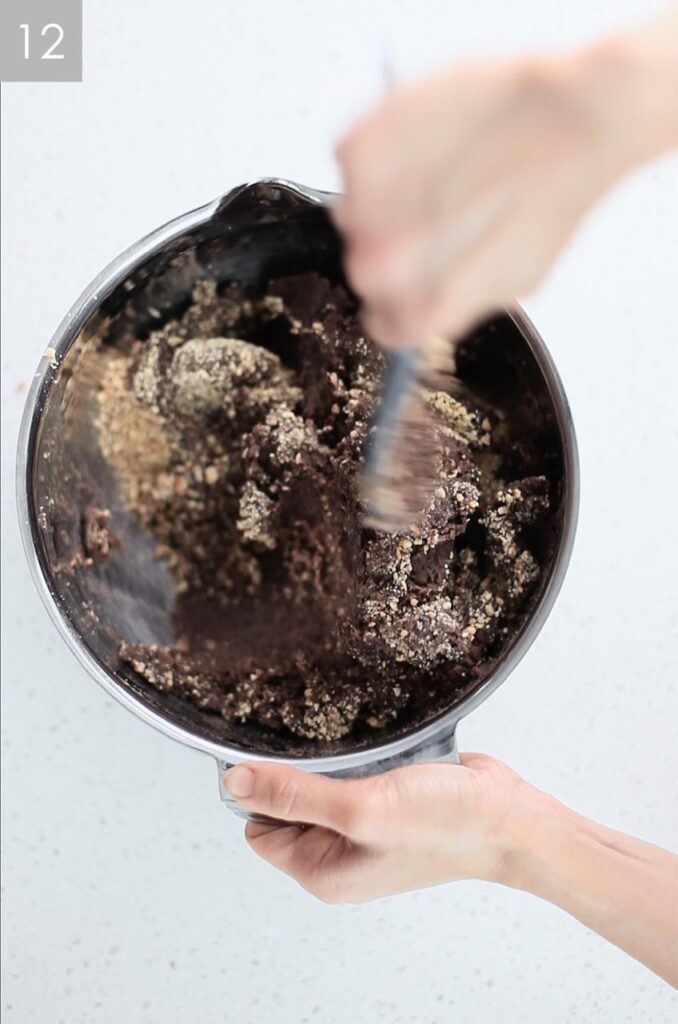
- After beans have cooked, drain the liquid using a fine-mesh strainer and place the beans back into the Instant Pot. Now choose the Saute mode. Add the date sugar and mix well with the beans. Reduce the liquid and continue to mix so that it doesn’t burn, cook for 5 min.
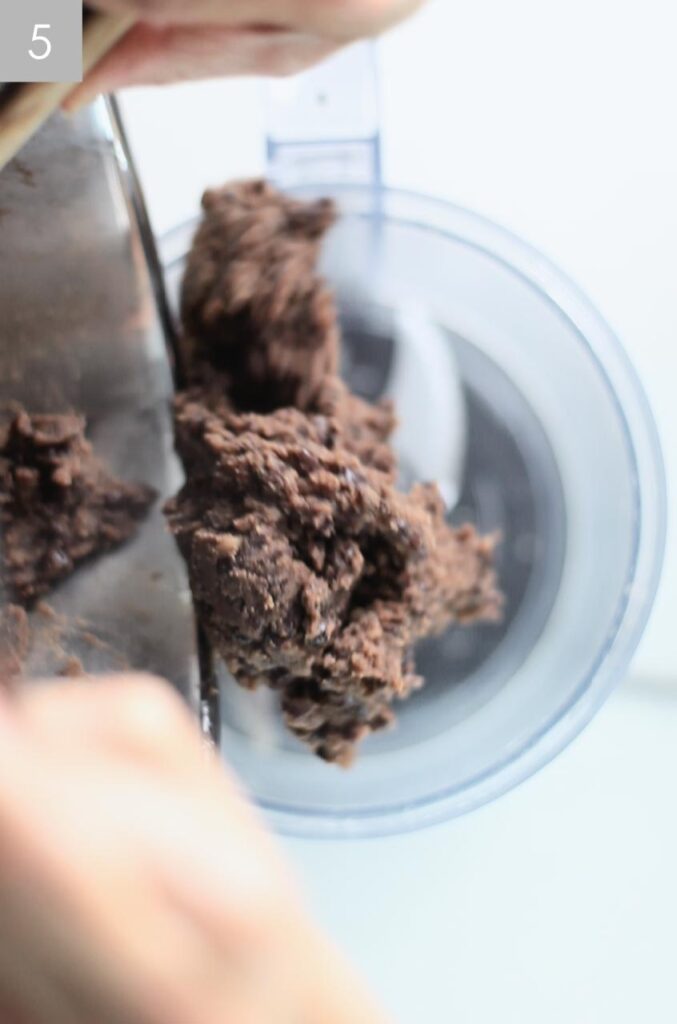

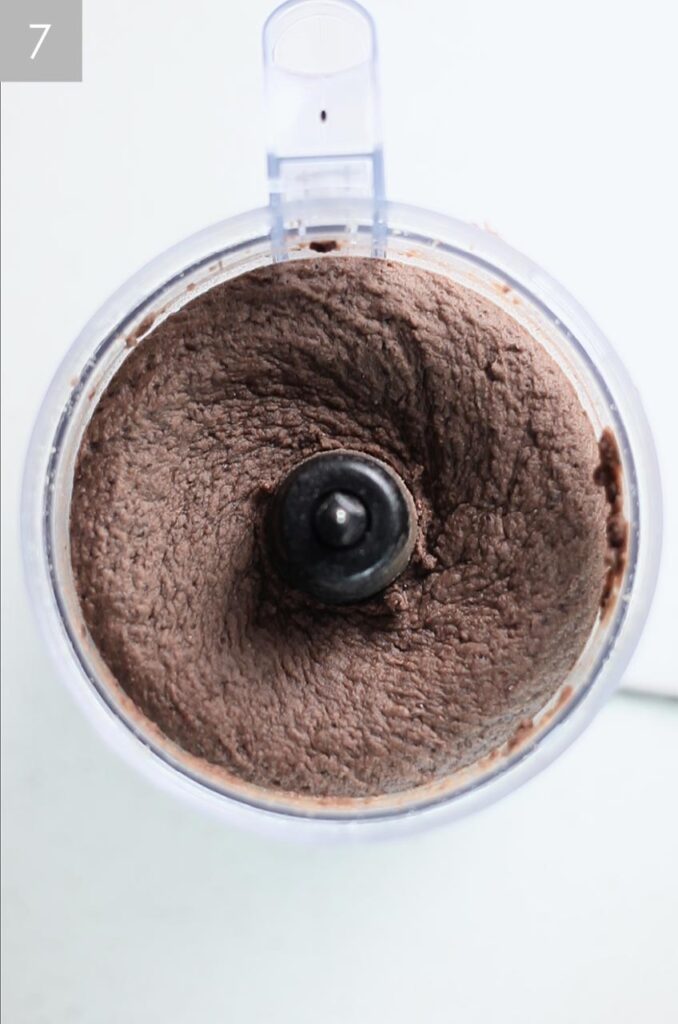
- Place the beans into a food processor or blender. Add the maple syrup and blend till the mixture is smooth, about 3-5 min.
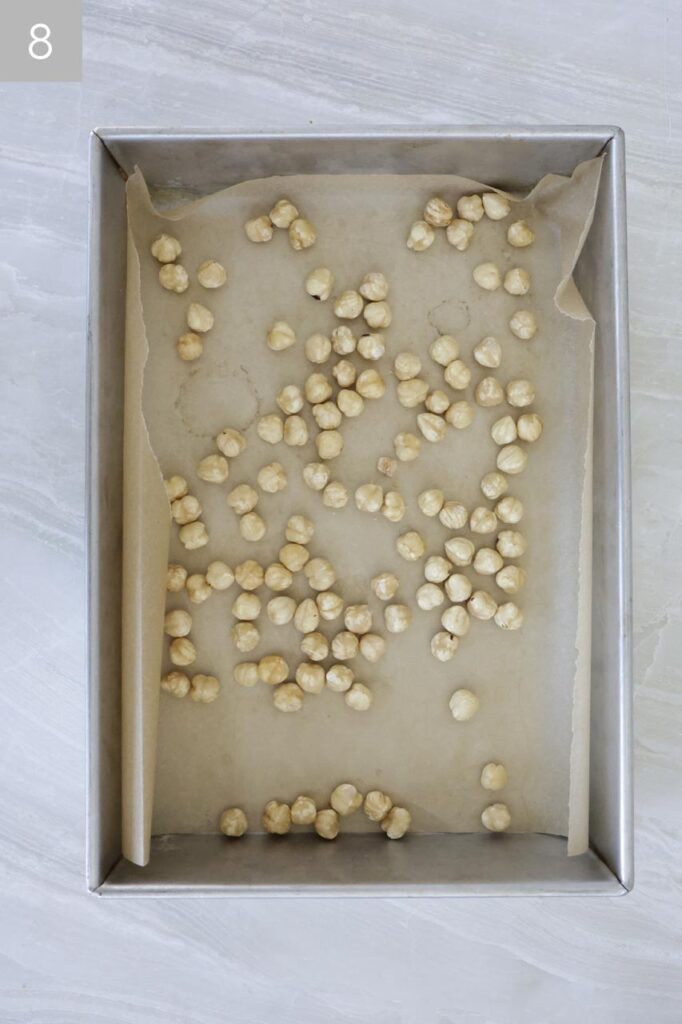
- Preheat the oven to 350 degrees F. Place hazelnuts on a baking sheet lined with parchment paper. Bake for 10 – 12 min until fragrant and golden.

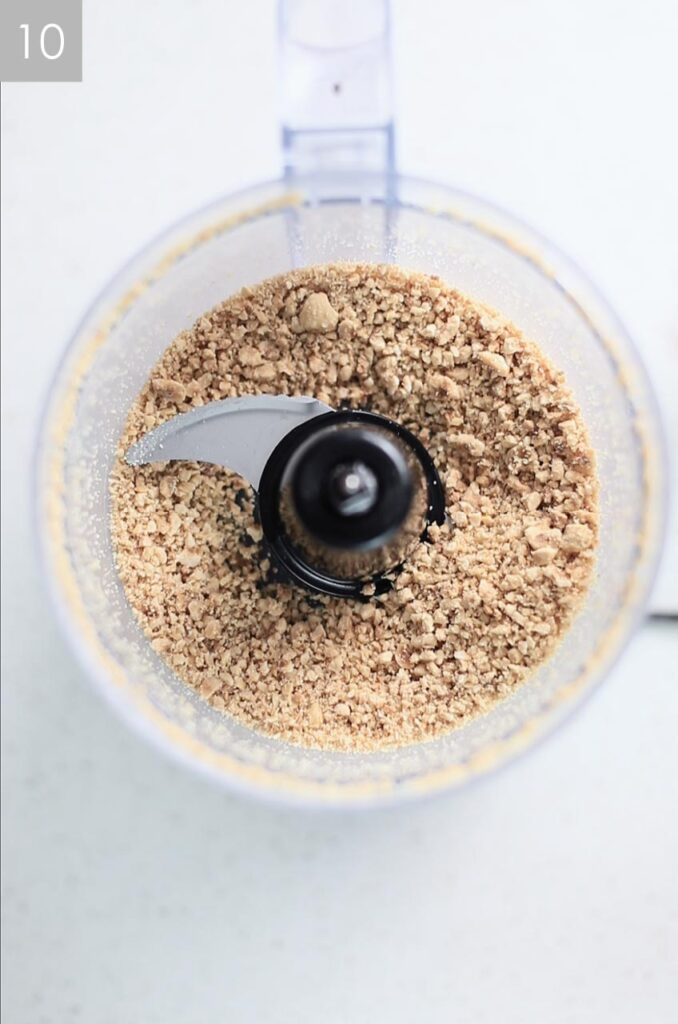
- Place hazelnuts in a food processor and pulse 3 to 5 times till nuts have been crushed. Do not over blend.

- Transfer beans into a large bowl. Add the crushed hazelnuts and fold them into the mixture. Set aside in the refrigerator.
Wrapper Dough


- Add arrowroot starch, glutinous rice flour, rice flour into a large bowl and mix well.


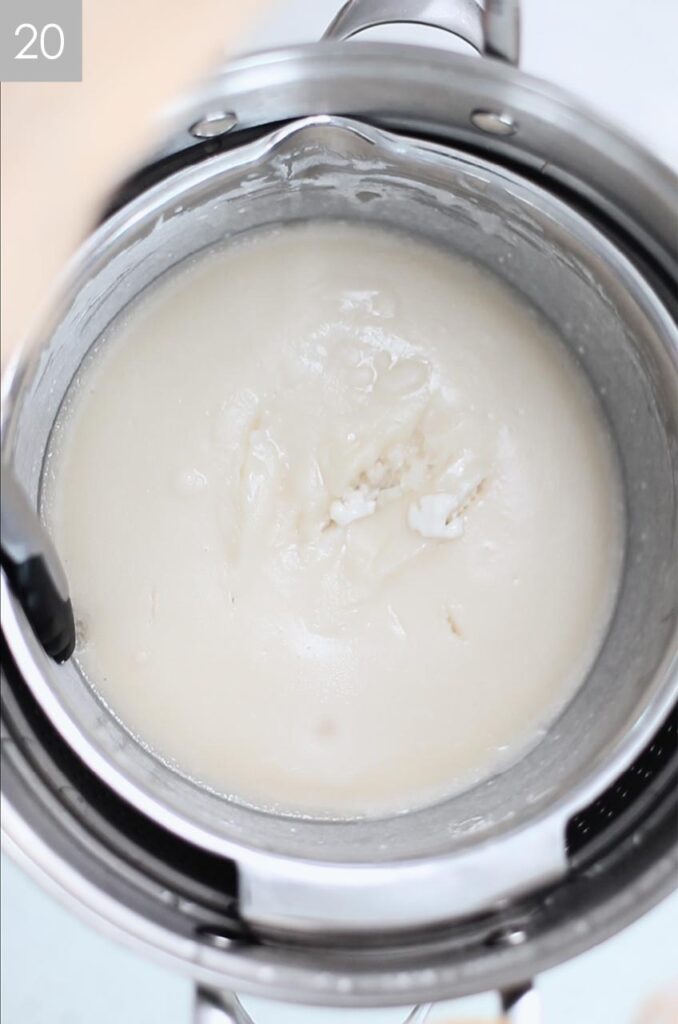
- Add almond milk, maple syrup, and coconut oil and mix well until smooth.

- Add a steam basket into a large pot and add water. Heat on high to bring water to a boil.
- Add the dough mixture to the large pot and cover. Steam until there is no liquid when you cut into the center of the dough, about 35 – 45 mins.


- Place the cooked dough into a mixer with the kneading attachment. Knead the dough for 5 min. You can also knead the dough with your hands if you don’t have a mixer, but make sure it has cooled down and safe to tough.
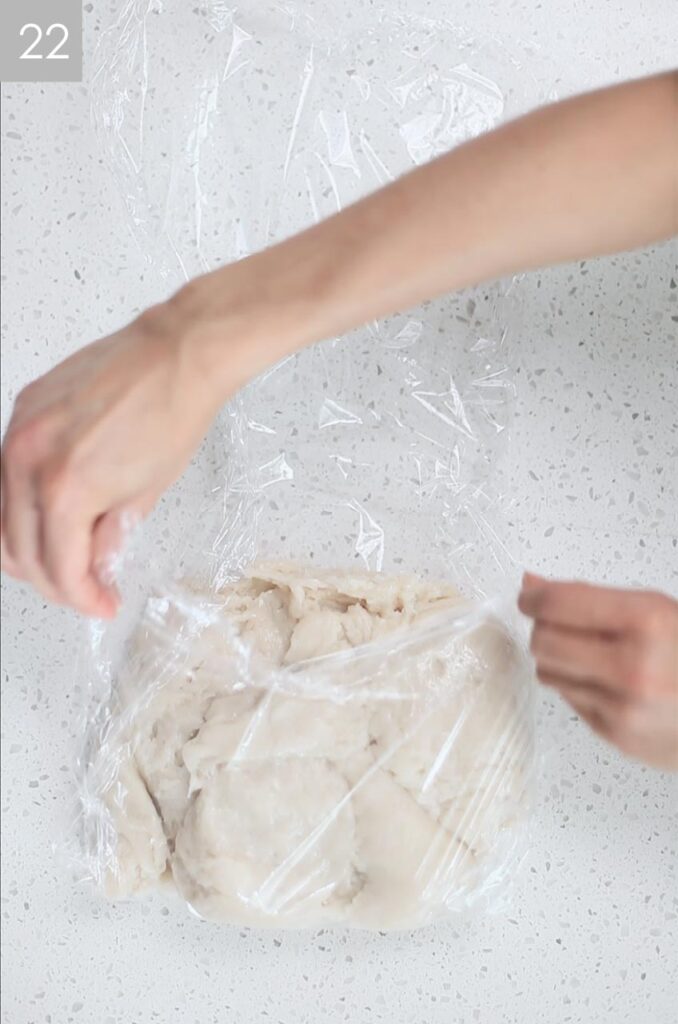
- Wrap dough with plastic wrap and cool in the fridge for about an hour.
Assemble
- This will depend on the size of your mold press. I used a large mold that was 2.5 inch diameter. For smaller molds use half of the weight.
- Weigh about 46 grams of the red bean filling mixture and roll it into a ball. Set aside.
- Once the dough is cooled weigh about 48g .


- Take a small piece of the dough and add the beet powder or food coloring of choice and mix well into the dough. Set aside.


- Take the rest of the dough and roll into a ball. Flatten it into a 4 inch diameter circle. Place the colored dough on one side and roll it into the mixture. View video for better instruction.


- On the side with no color add the red bean filling to the dough and seal the ends by kneading the ends together. See video for better instruction.

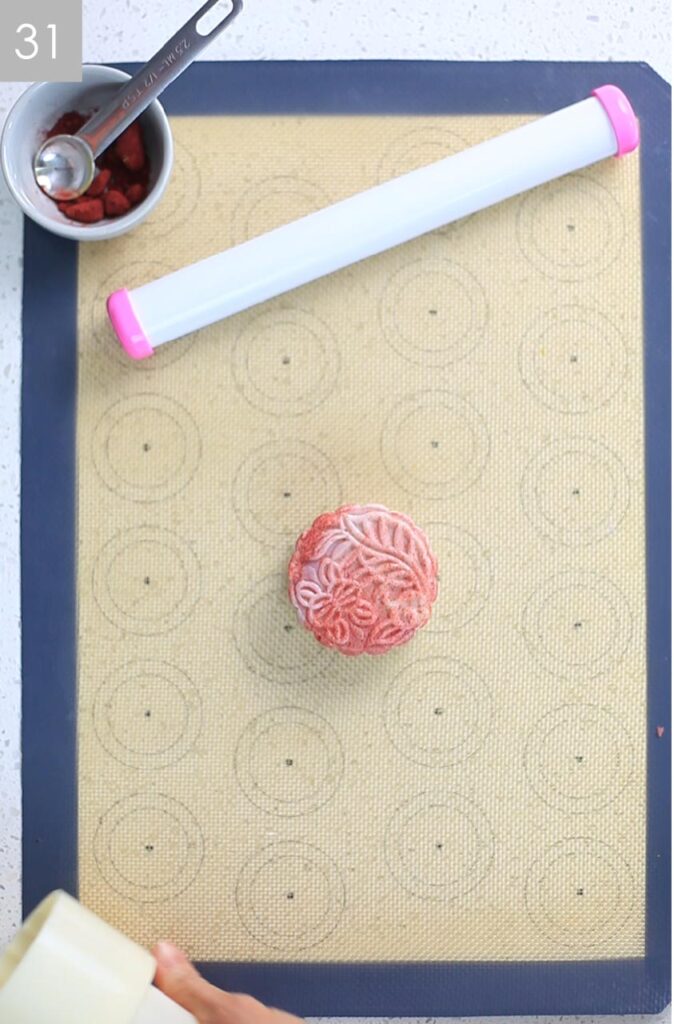
- Place mooncake into the mooncake mold and press a few times to imprint the design and shape. Place a piece of parchment paper at the bottom of the mooncake to prevent sticking. Continue this process with the rest of the dough and filling

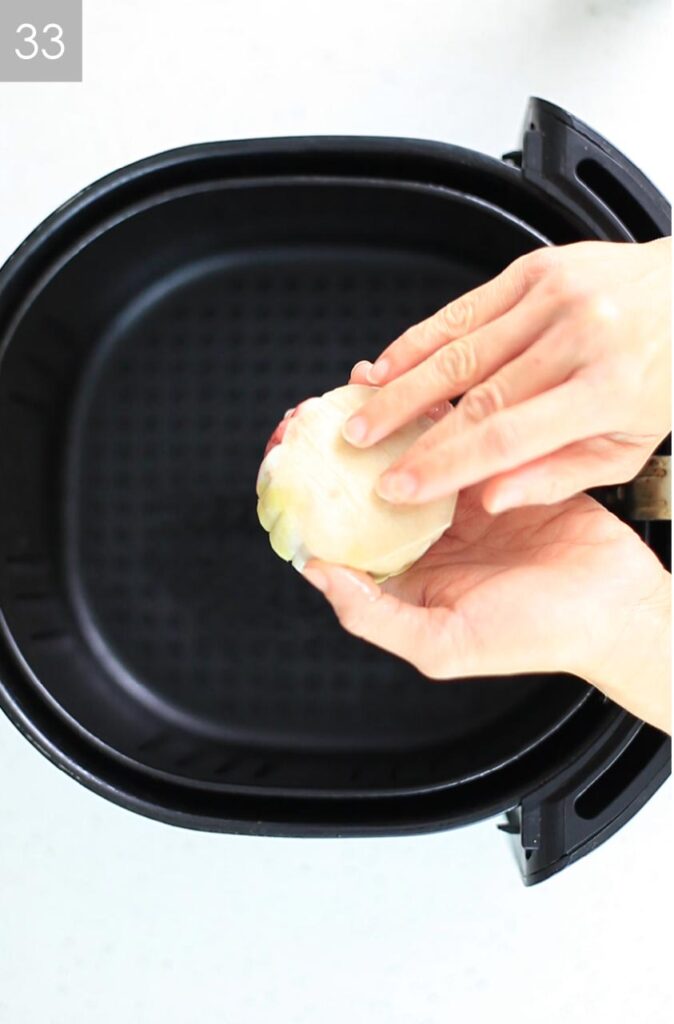
- Once all mooncakes are assembled spray bottom and top with avocado oil.
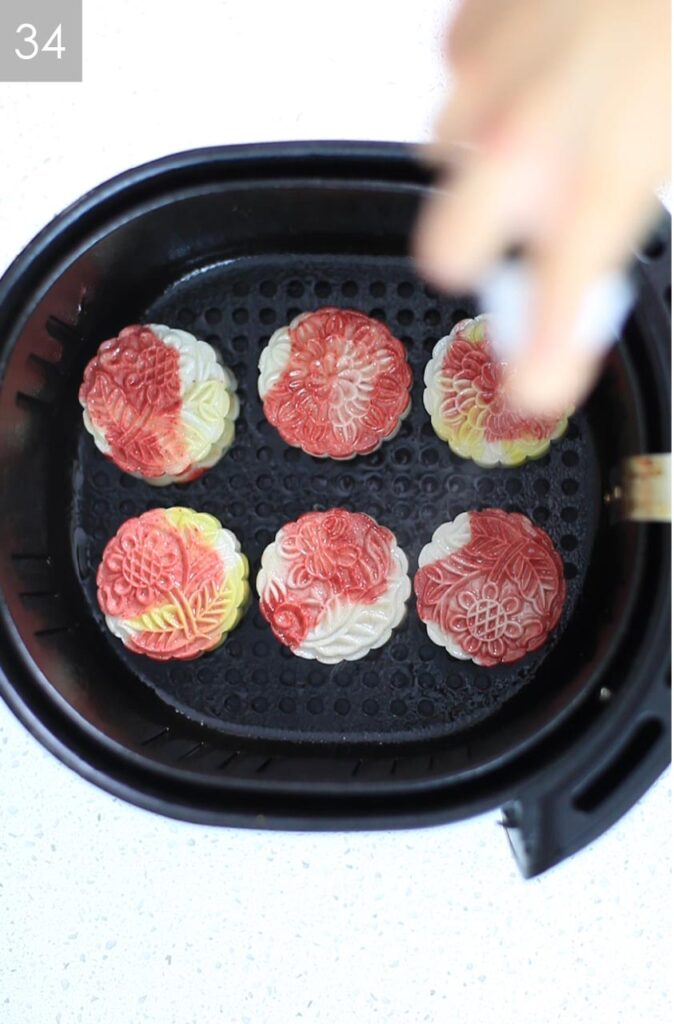
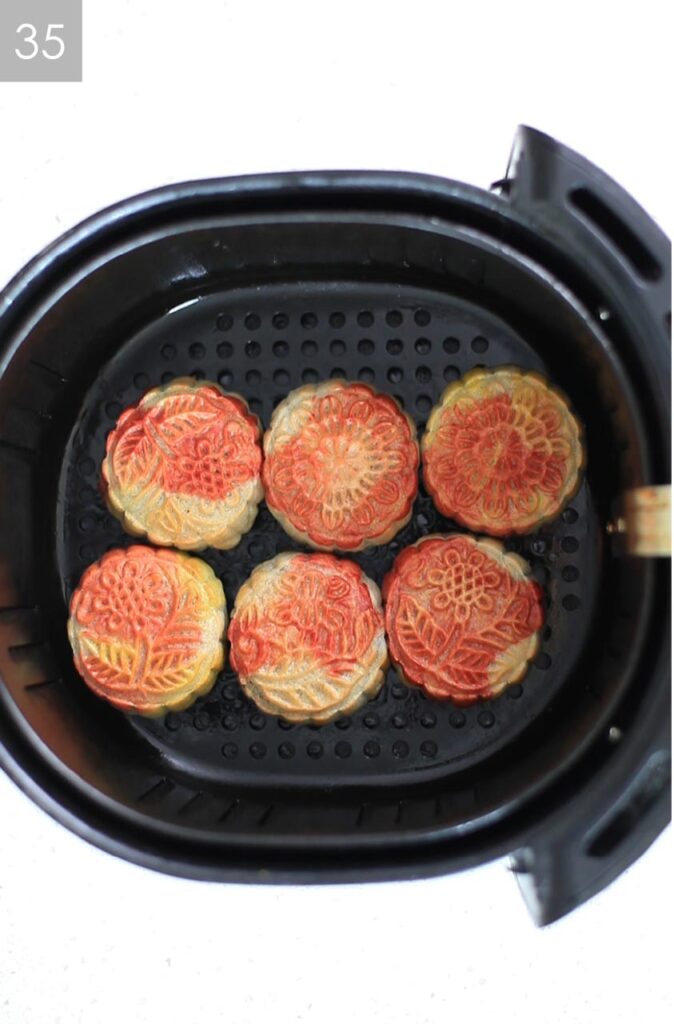
- Place mooncakes into the air-fryer basket and cook at 370 degrees F for 10 – 15 mins or until golden in color. If you don’t have an air-fryer you could also bake these at 375 degrees F for 15 – 20 min. or until golden in color.
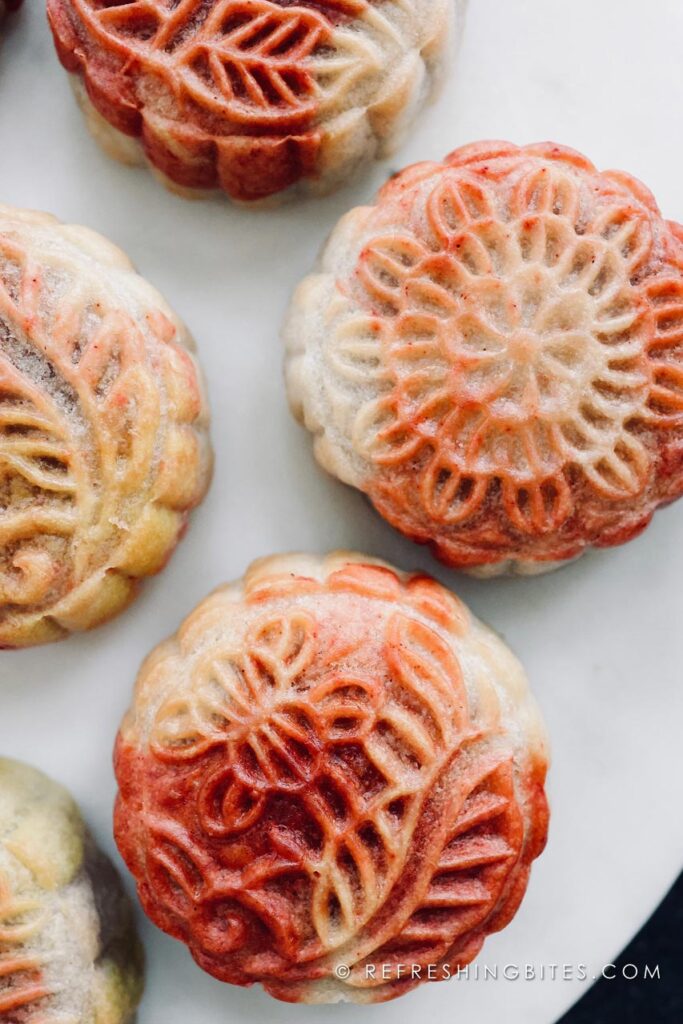
- Let cool for 10 – 15 min and serve.
- Store any leftovers in an airtight container for 1 week.


Ingredients
Method
- Rinse the red adzuki beans with water. Place the rinsed beans into the instant pot pressure cooker. Close and make sure pressure release is sealed. Cook on Bean or Manual setting for 30 min. After 30 minutes let it release pressure naturally, about 12 min.
- While beans are cooking preheat the oven to 350 degrees F. Place hazelnuts on a baking sheet lined with parchment paper. Bake for 10 – 12 min until fragrant and golden.
- Place hazelnuts in a food processor and pulse 3 to 5 times till nuts have been crushed. Do not over blend.
- After beans have cooked, drain the liquid using a fine-mesh strainer and place the beans back into the Instant Pot. Now choose the Saute mode. Add the date sugar and mix well with the beans. Reduce the liquid and continue to mix so that it doesn't burn, cook for 5 min.
- Place the beans into a food processor or blender. Add the maple syrup and blend till the mixture is smooth, about 3-5 min.
- Transfer beans into a large bowl. Add the crushed hazelnuts and fold them into the mixture. Set aside in the refrigerator.
- Add arrowroot starch, glutinous rice flour, rice flour into a large bowl and mix well.
- Add almond milk, maple syrup, and coconut oil and mix well until smooth.
- Add a steam basket into a large pot and add water. Heat on high to bring water to a boil.
- Add the dough mixture to the large pot and cover. Steam until there is no liquid when you cut into the center of the dough, about 35 – 45 mins.
- Place the cooked dough into a mixer with the kneading attachment. Knead the dough for 5 min. You can also knead the dough with your hands if you don't have a mixer, but make sure it has cooled down and safe to tough.
- Wrap dough with plastic wrap and cool in the fridge for about an hour.
- This will depend on the size of your mold press. I used a large mold that was 2.5 inch diameter. For smaller mold use half of the weight. Weigh about 46 grams of the red bean filling mixture and roll it into a ball. Set aside.
- Once the dough is cooled weigh about 48g and take a small piece of the dough. Add the beet powder or food coloring of choice and mix well into the dough. Set aside.
- Take the rest of the dough and roll into a ball. Flatten it into a 4 inch diameter circle. Place the colored dough on one side and roll it into the mixture. View video for better instruction.
- On the side with no color add the red bean filling to the dough and seal the ends by kneading the ends together. See video for better instruction.
- Place mooncake into the mooncake mold (I used the large size mold, 2.5 inches diameter size) and press a few times to imprint the design and shape. Place a piece of parchment paper at the bottom of the mooncake to prevent sticking. Continue this process with the rest of the dough and filling
- Once all mooncakes are assembled spray bottom and top with avocado oil.
- Place mooncakes into the air-fryer basket and cook at 370 degrees F for 10 – 15 mins or until golden in color. If you don't have an air-fryer you could also bake these at 375 degrees F for 15 – 20 min. or until golden in color.
- Let cool for 10 – 15 min and serve. Only air-fry or bake ones that you'll eat right away. These are best fresh from the air-fryer. They also taste great without baking for the traditional snowskin texture.
- Store any leftovers in an airtight container for 1 week.
Video
Notes
Did You Make This Recipe?
Mention @refreshing.bites on Instagram and hashtag it #RefreshingBitesRecipe
Trending Recipes