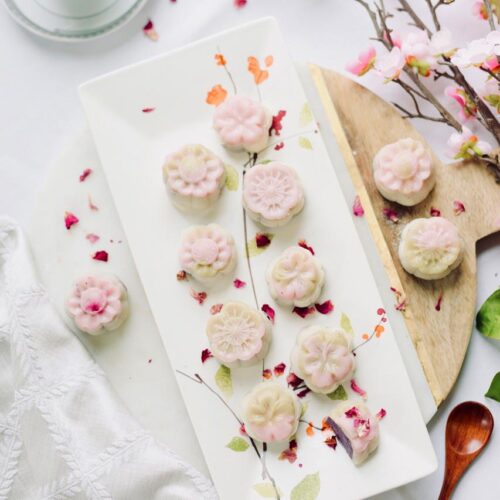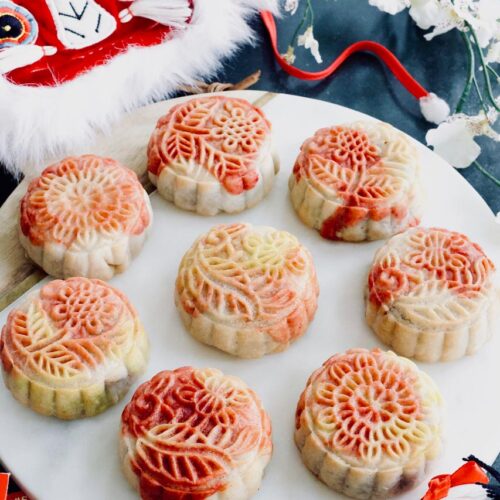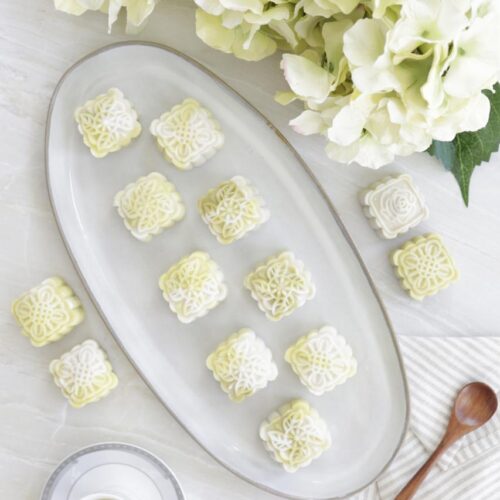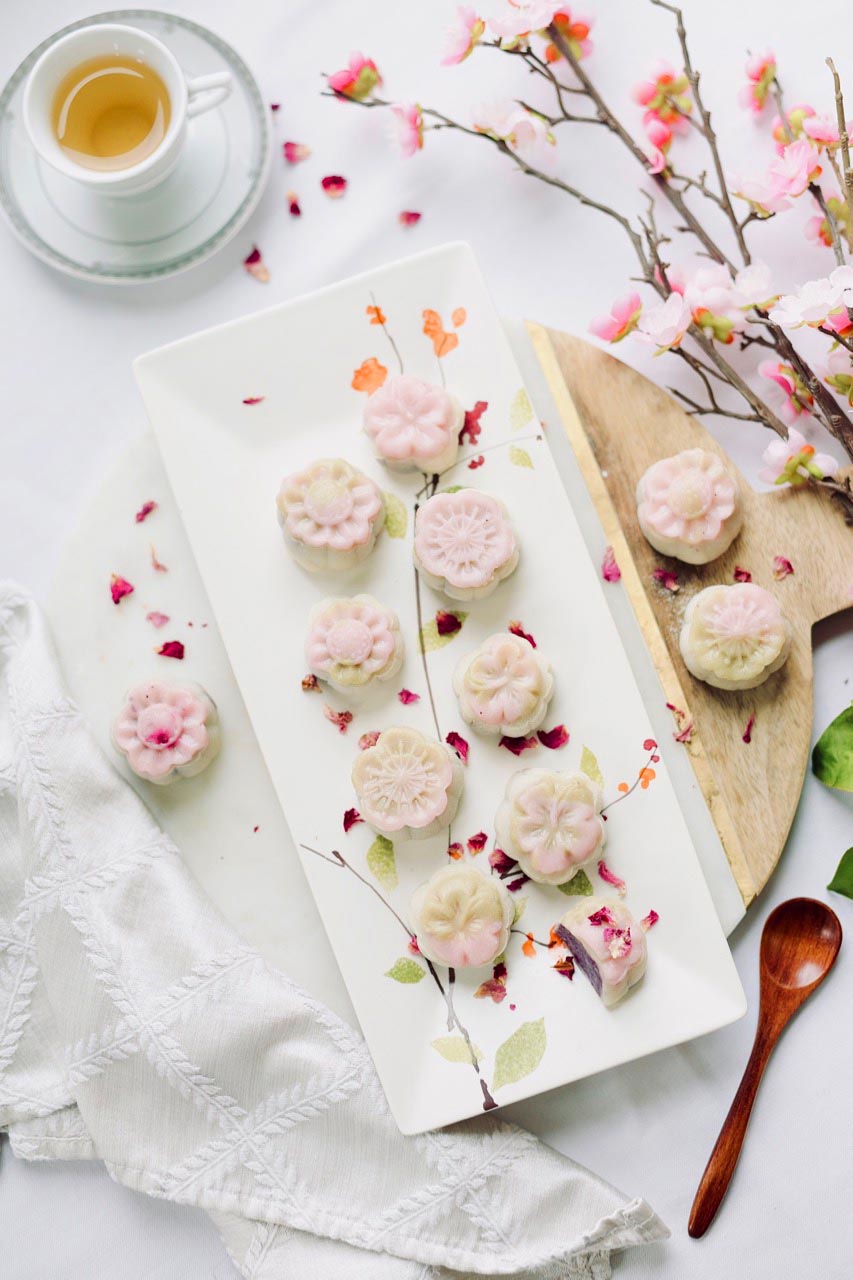
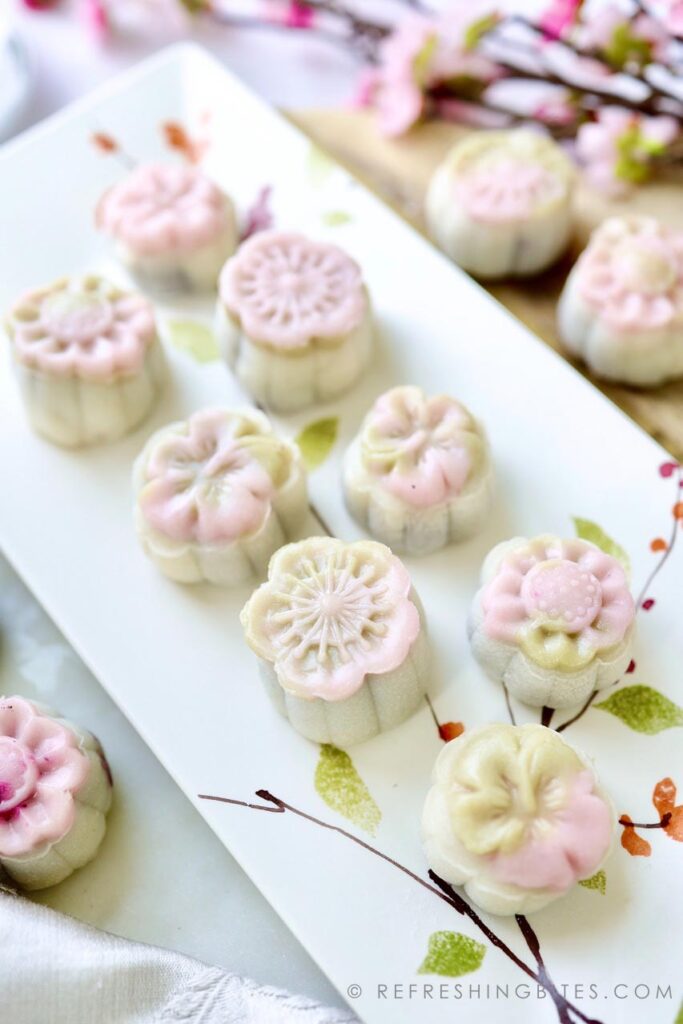
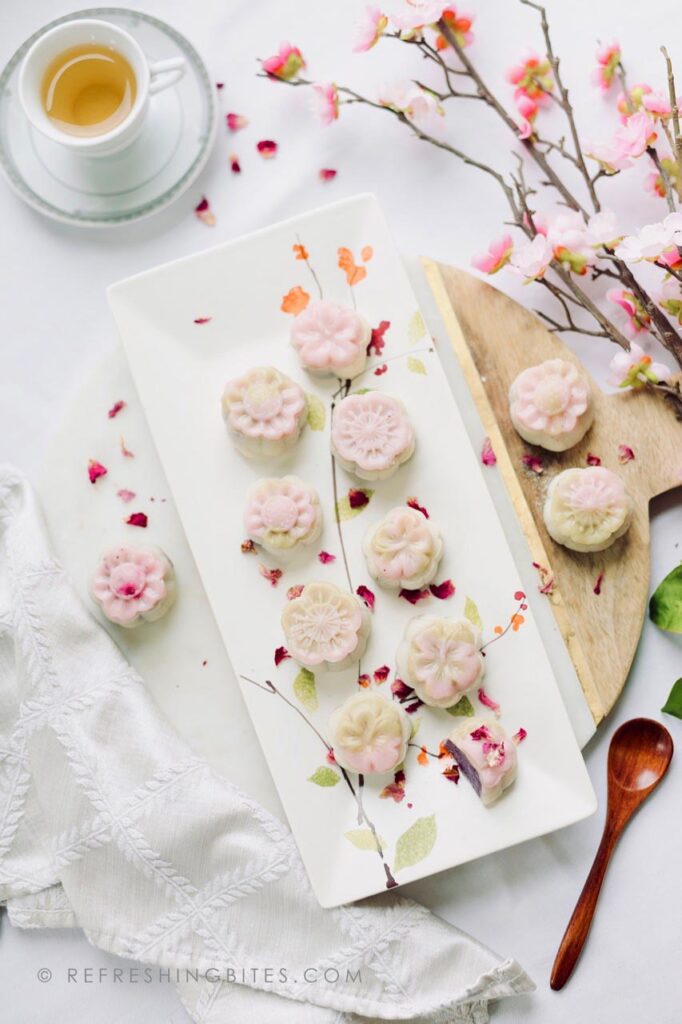
These Snow Skin Mochi Mooncakes are vegan, gluten-free, and naturally sweetened. Spring time is approaching and tons of birthdays are coming up, which means I’m going to be busy baking. I was inspired by my trip to Japan a few years ago for my 10 year anniversary. We went around this time of year and it was the beginning of cherry blossom season. I loved looking at all the cherry blossom themed desserts that were in all the stores in Japan.
I miss eating mochi ice cream so I wanted to make something mochi based. One of my favorite Filipino flavors is ube, which is sweetened purple sweet potato. It’s quite popular in southeast Asian desserts. I’ve made it in pies and cakes but I wanted to try it with mochi. The challenge was to make it vegan, gluten-free and naturally sweetened. Took some experimenting but these turned out delicious. My husband and daughters really loved it as they’ve never had ube flavored sweets before. Desserts have always been a challenge when you have these three restrictions. They are naturally sweetened with date sugar and maple syrup and I use coconut milk and almond milk.
Recommendations
For this recipe I recommend using grams for measurements as this recipe requires a bit more accuracy. So a kitchen scale would come in handy. I also make my own coconut condensed milk which is:
- a can of coconut milk
- 1/3 cup of date sugar
Place these ingredients in a sauce pan and bring to a boil. Lower the heat and cook over medium low heat for about 20 – 25 minutes or until the sauce has thickened. Let cool and store in fridge for a week.
I would also recommend using food safe plastic gloves as the glutinous rice dough is very sticky. You can also let all the ingredients completely chill in the refrigerator to make it less sticky if you have the time. Make sure hands are completely dry when handling. Can also dust hands with some glutinous rice flour to prevent sticking.
Storage
The skin will harden when put in the fridge when stored. Cover them in plastic wrap to prevent this. You can let it sit out at room temperature to retain its texture. You can also microwave for a few seconds to soften the skin again.
The mooncake mold I used is smaller than traditional mooncakes. Now if you have a larger standard mold I would increase the filling and wrapper dough amounts to 25g each to accommodate the size of a standard mold.
What Makes these Snow Skin Mochi Mooncakes Healthier
- Desserts aren’t the healthiest dishes unless they are completely made of fruit. Though you only live once and it’s nice to have a treat once in a while! These are made with natural sugars like date sugar and maple syrup.
- It has plant-based dairies like coconut and almond milk.
- Made with purple sweet potatoes, which are high in antioxidants and fiber. They are also high in nutrients like potassium and vitamin C.
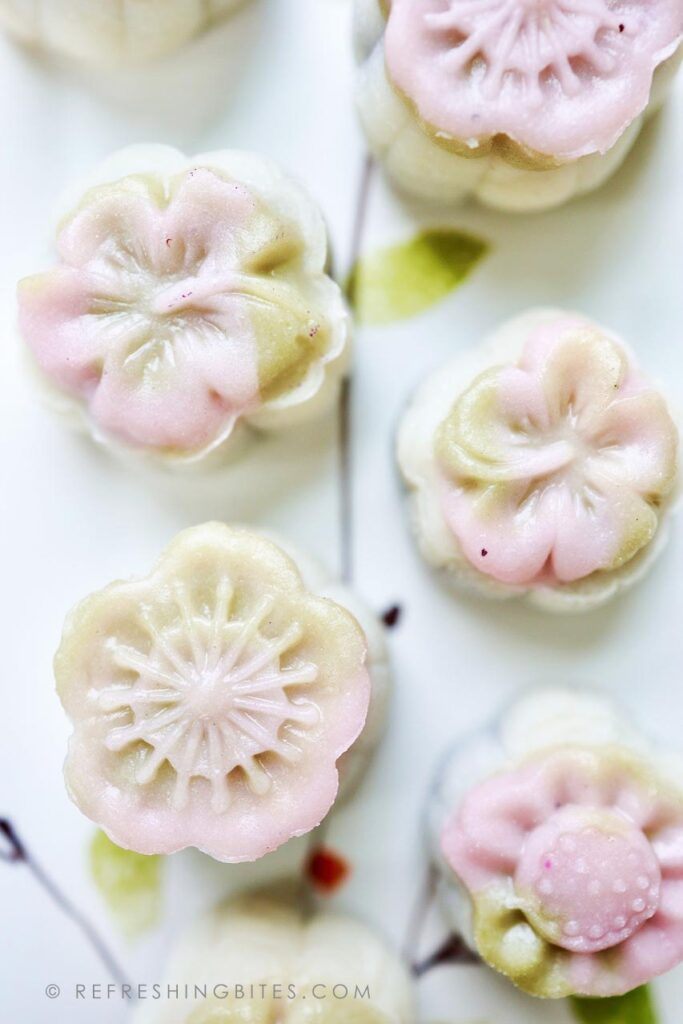
- I use natural food coloring. To make the green color I use matcha powder and for the pink I use pitaya powder. To enhance the filling color since my coconut condensed milk uses date sugar, which turns everything brown. My filling had a reddish-purple tone to it so I used butterfly pea powder and sweet potato powder.
This page contains affiliate links that helps support this website, thank you.
How-To Video
Let’s Make These Mochi Mooncakes
What you’ll need:
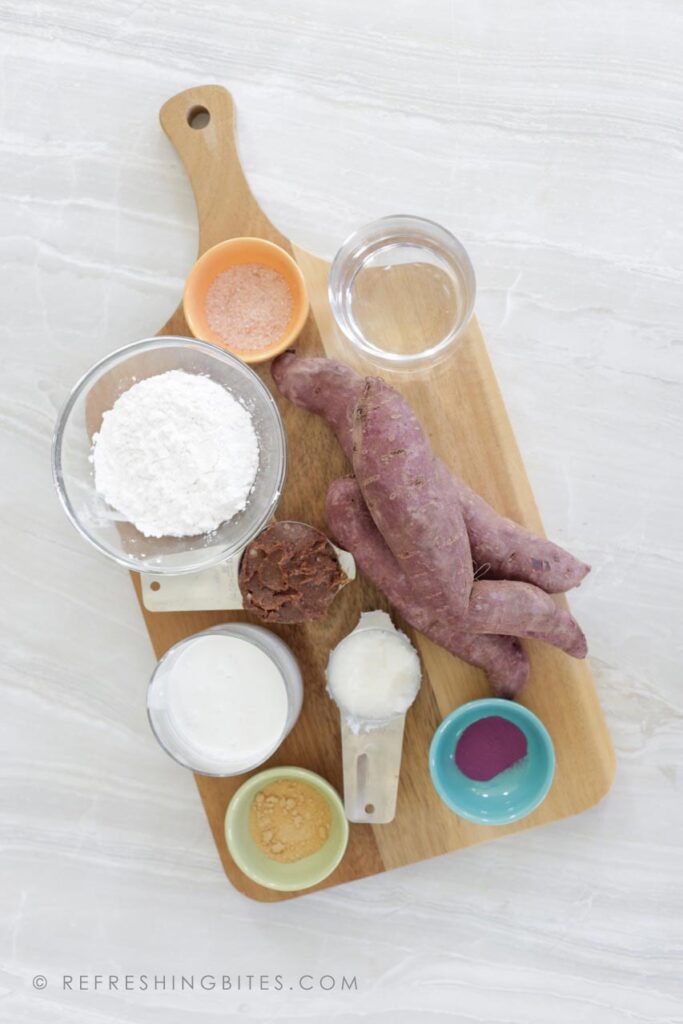
Ube ( Purple Sweet Potato) Filling
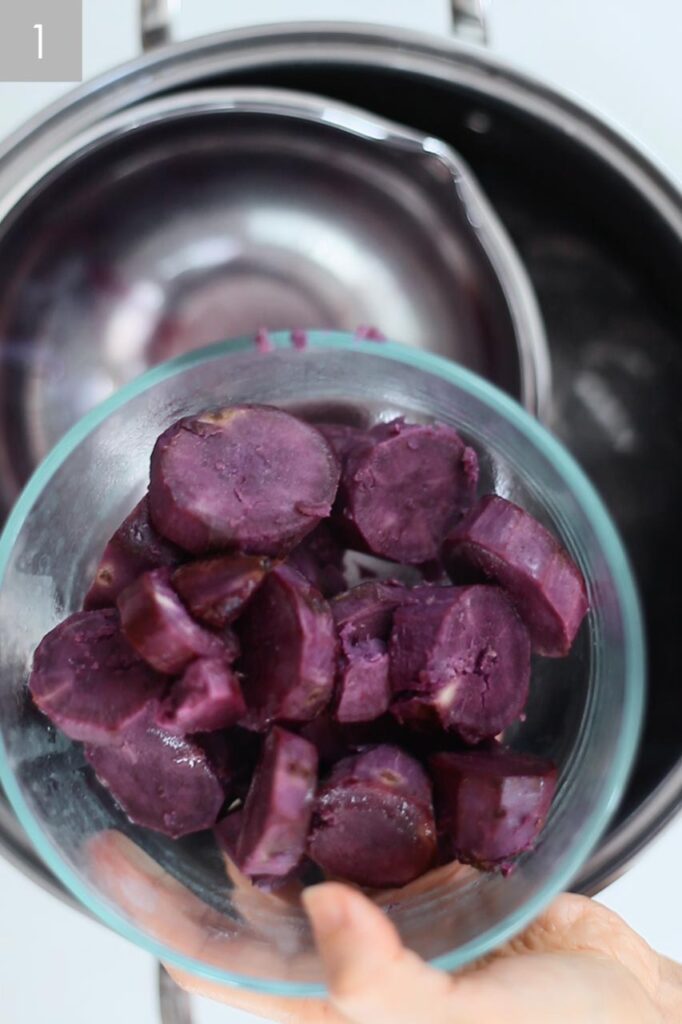
- 300 g purple sweet potato, chopped and steamed about 3 medium potatoes
- 110 g coconut cream (1/2 cup)
- 145 g water (about 2/3 cup)
- 45 g coconut oil (about 1/4 cup)
- 100 g sweetened coconut condensed milk (1/3 cup) ( I make my own, see notes on how to make)
- 80 g arrowroot starch can also use tapioca, potato or corn if not avoiding corn
- pinch salt
- 1 tsp sweet potato powder (optional) adds natural coloring
- 1/2 tsp blue butterfly pea powder (optional) natural coloring
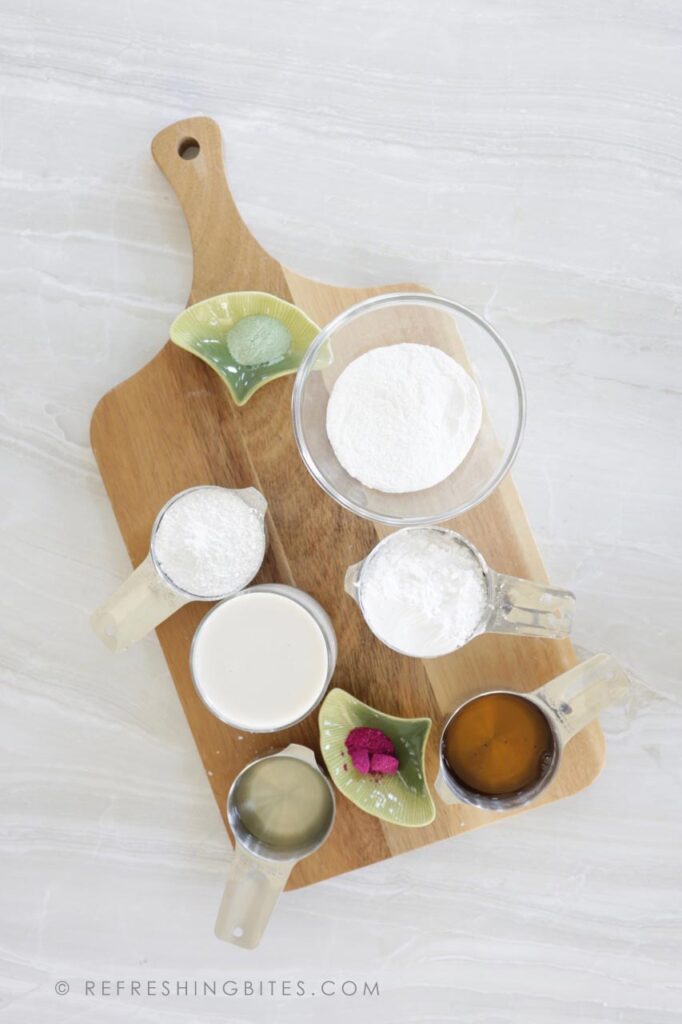
Wrapper
- 50 g arrowroot starch (about 1/4 cup) Ube ( Purple Sweet Potato) Filling
- 75 g rice flour (about 2/3 cup)
- 75 g glutinous rice flour (about 2/3 cups)
- 100 g maple syrup I used golden for a lighter color
- 280 g almond milk or milk of choice
- 45 g coconut oil, melted (little less than 1/4 cup)
- 1/4 tsp matcha green tea for natural coloring
- pinch pink pitaya for natural coloring
- mooncake mold
- Peal and chop the purple sweet potatoes. Weigh them to make sure they are 300 g
- Place steamer basket in a large pot and bring to boil.
- Place potatoes into basket and steam for 15 – 20 minutes or until they are fork tender.
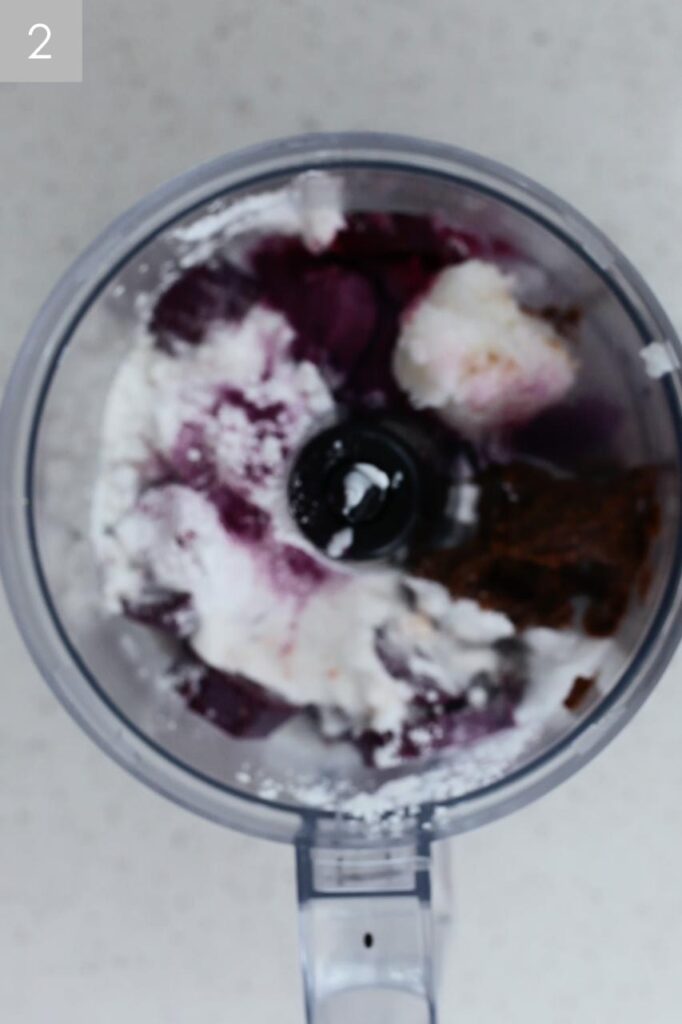
- Place potatoes, and all the filling ingredients into a food processor. Process until completely smoothed
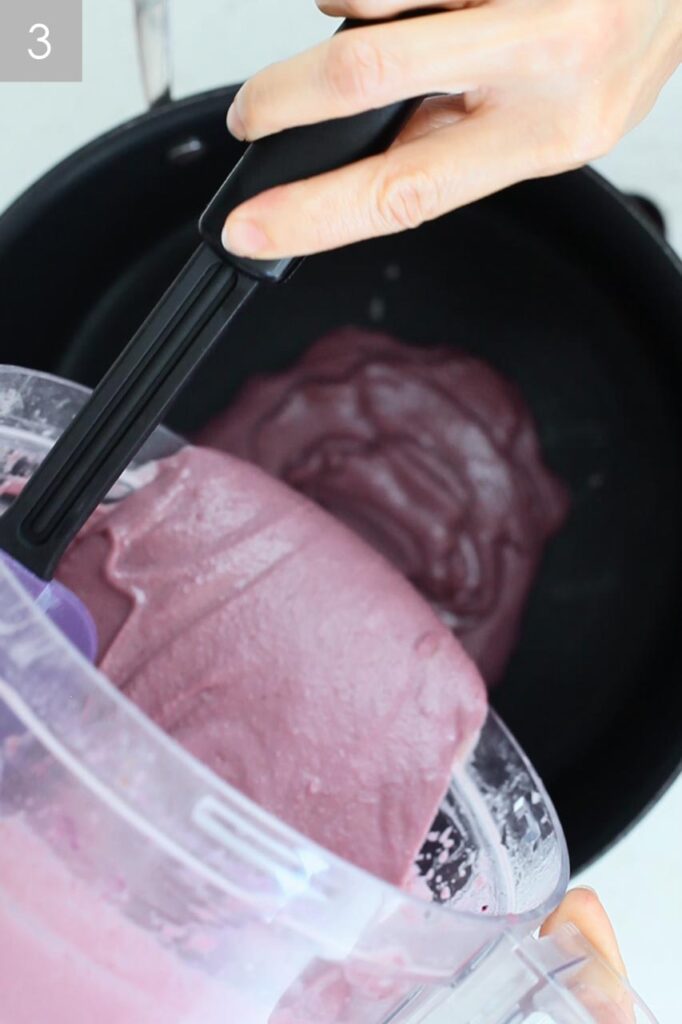
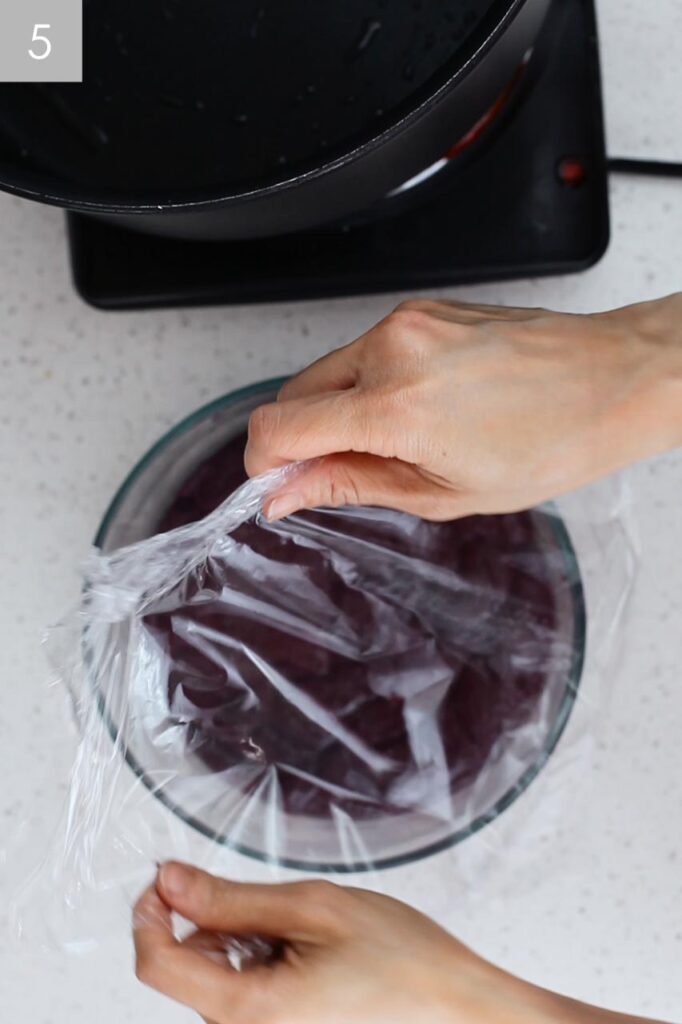
- Place ube mixture into a non stick pot and cook over medium heat for about 8 – 12 minutes or until mixture has thickened and pulls from the sides. See video for details
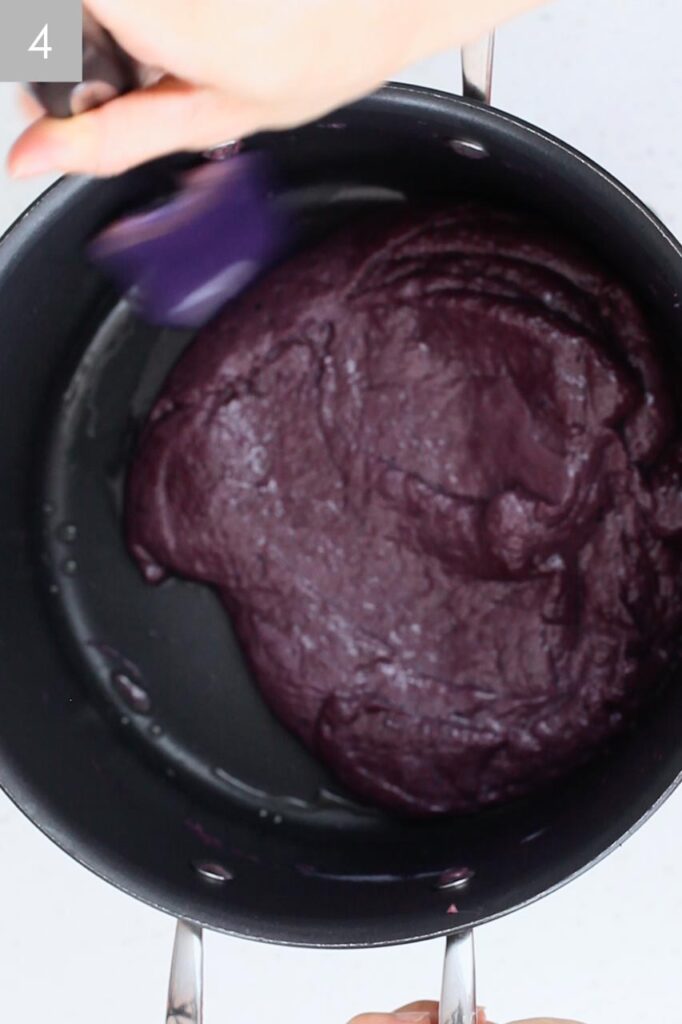
Place in a heat proof contained and cover with plastic wrap. Let cool in fridge for about 1 hr
Wrapper
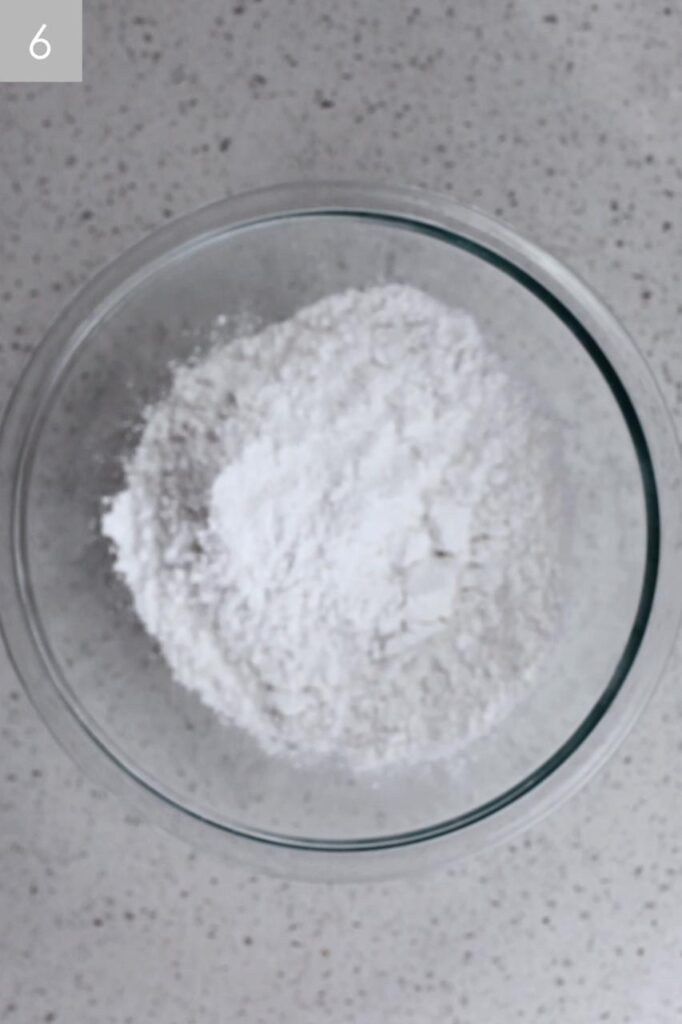
Add the dry ingredients, glutinous rice, rice flour, arrowroot starch to a large heat safe bowl and mix well.
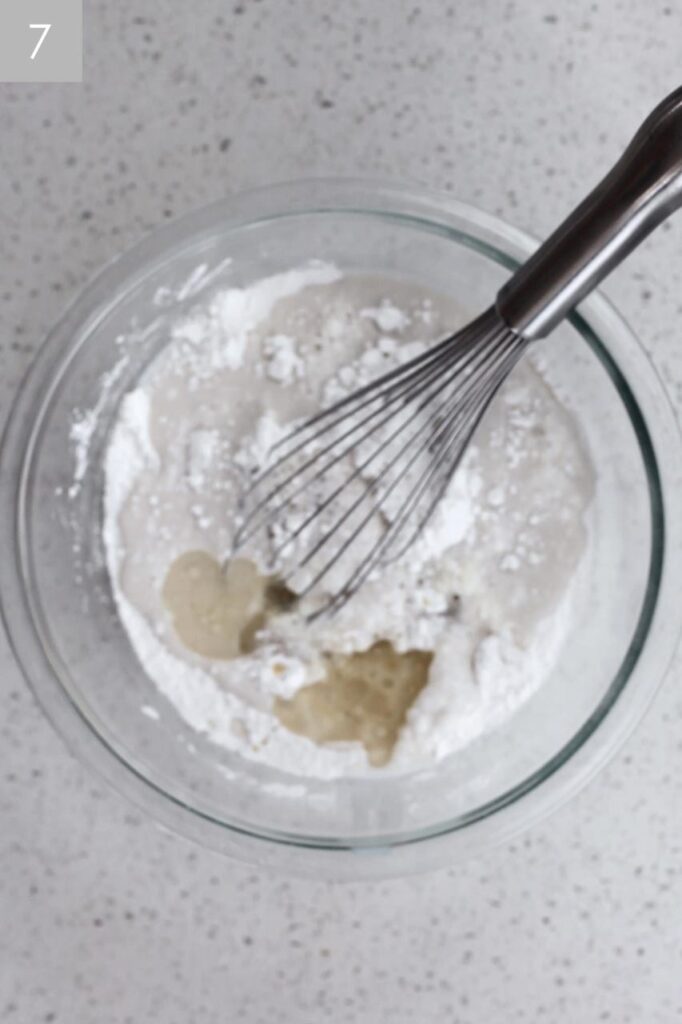
- Add the almond milk, maple syrup, and melted coconut oil to the bowl and mix well.
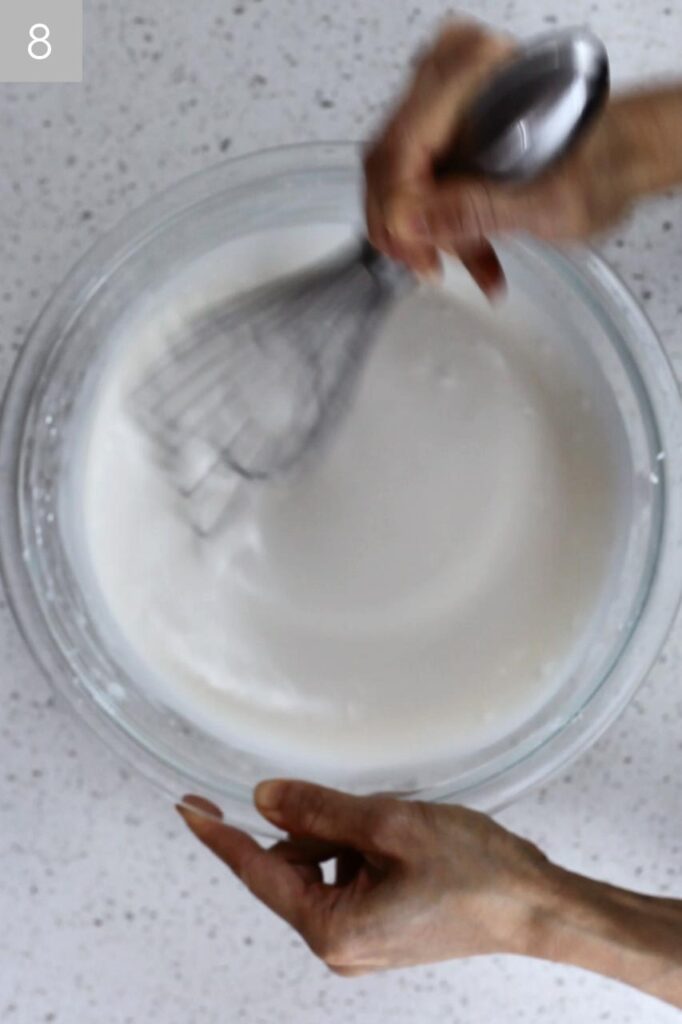
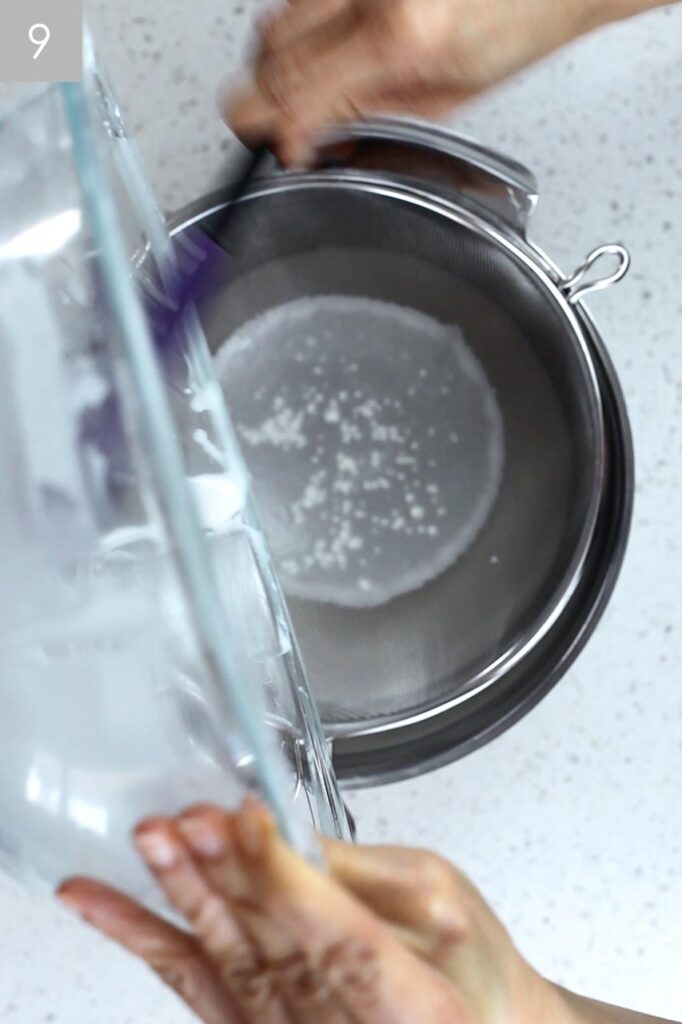
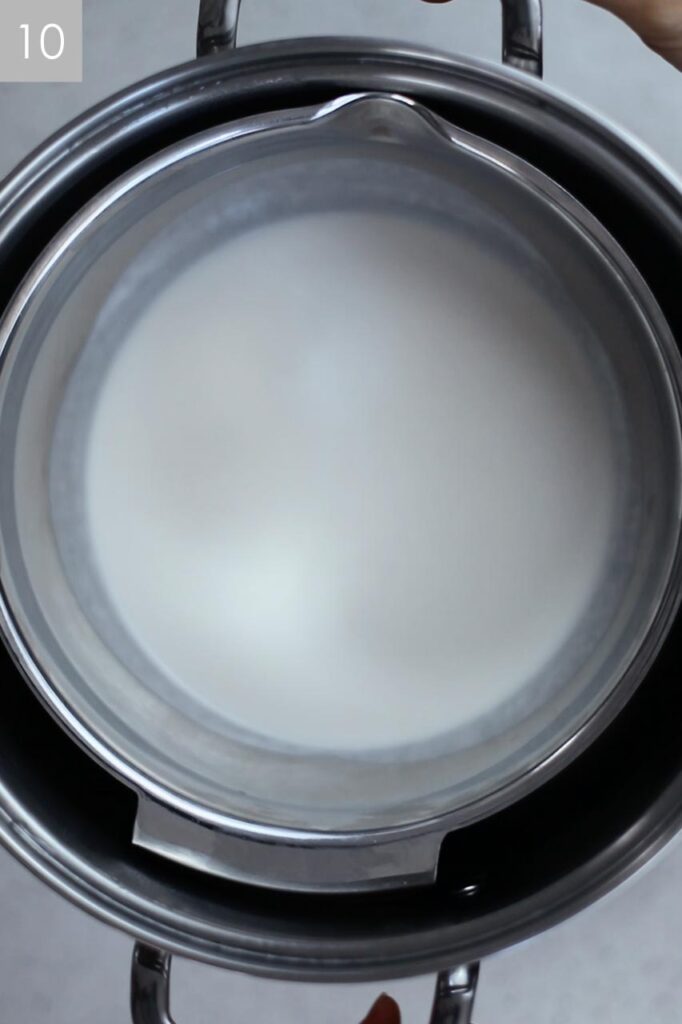
Add a shallow wire wrack to bottom of large pot and fill with water. Bring to biol and add the heat safe bowl with the wrapper mixture. Steam for 25 – 30 minutes or until there is no liquid coming out when you poke the mixture.
- Transfer to an electric mixer with the dough attachment. Knead dough for 5 minutes
- Transfer dough to plastic wrap and wrap dough. Place in fridge to cool for 1 hr
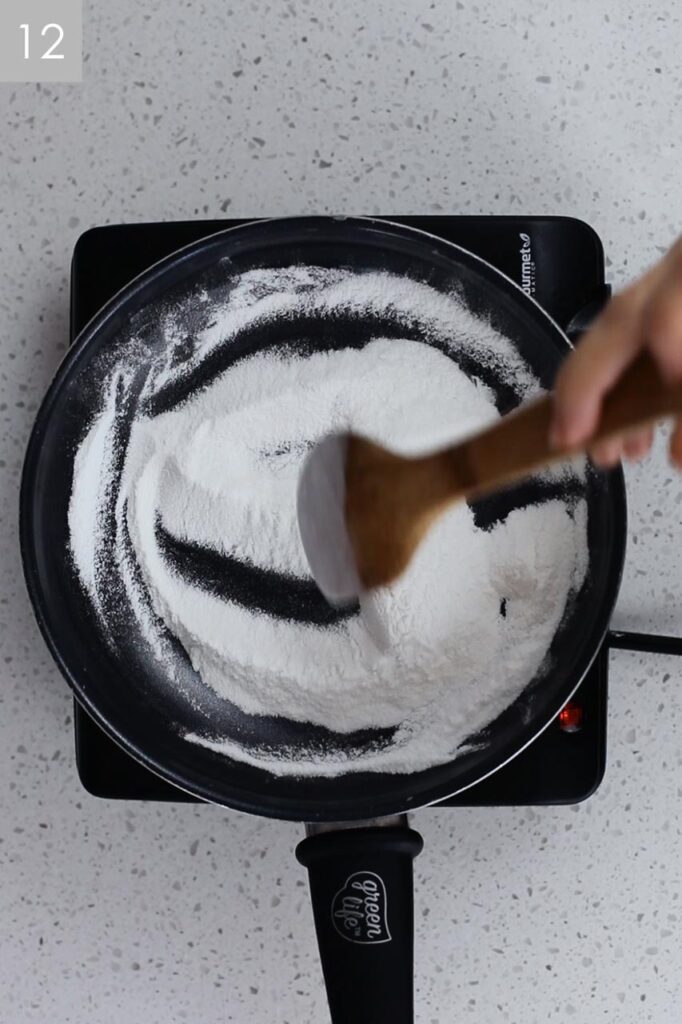
- Place 35g of glutinous rice flour in small nonstick pan. Cook for about 4-5 minutes until it turns slightly yellow in color. Make sure to keep stirring to prevent burning. Let cool, this will be used to dust dough to prevent sticking.

Assemble
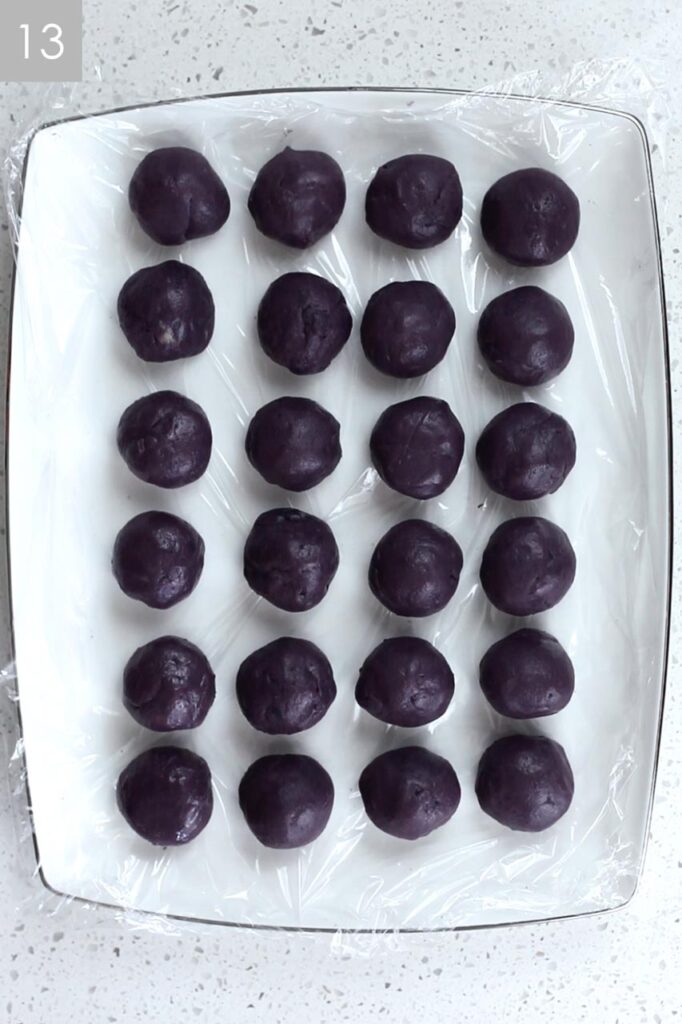
- Get cooled filling and weigh 12g of filling. Roll into ball and place a plate that is wrapped in plastic wrap. Continue to roll balls. Cover the filling balls with plastic wrap and place back in fridge.
- Get cooled wrapper dough and cut about 1/4 of the mixture. Cut this in half and add 1/4 tsp matcha powder to one half.
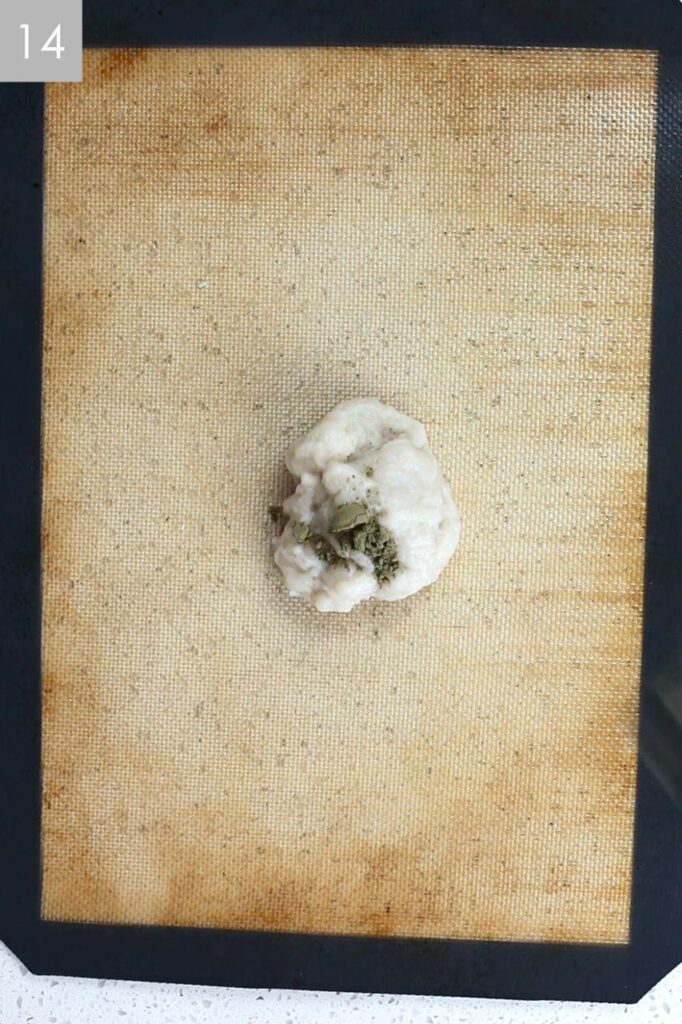
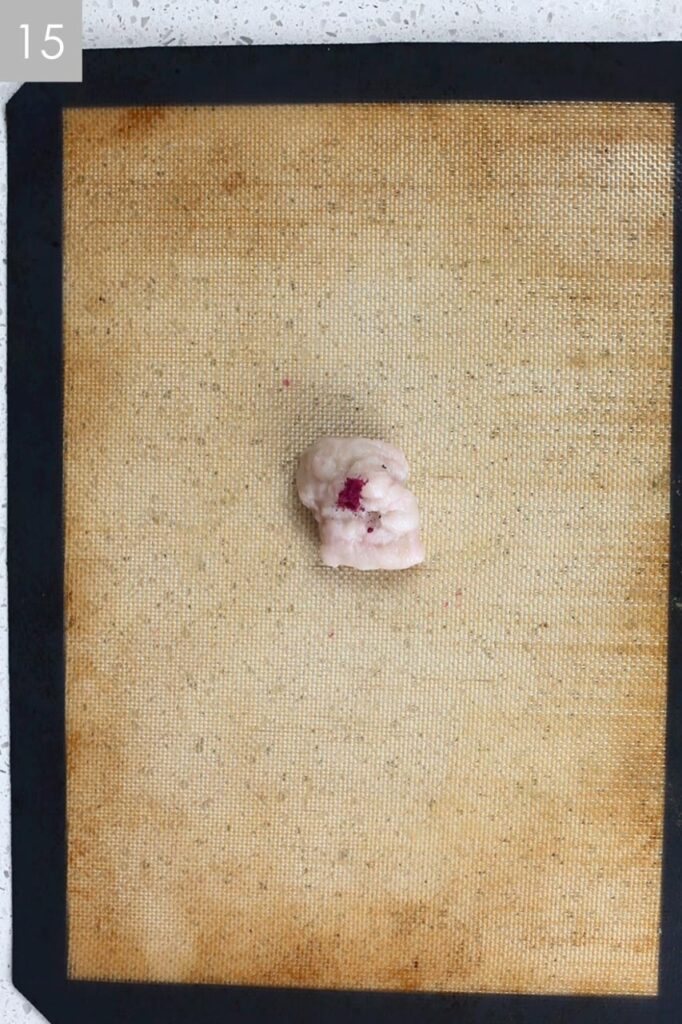
- Add a pinch of pitaya power to the other half.
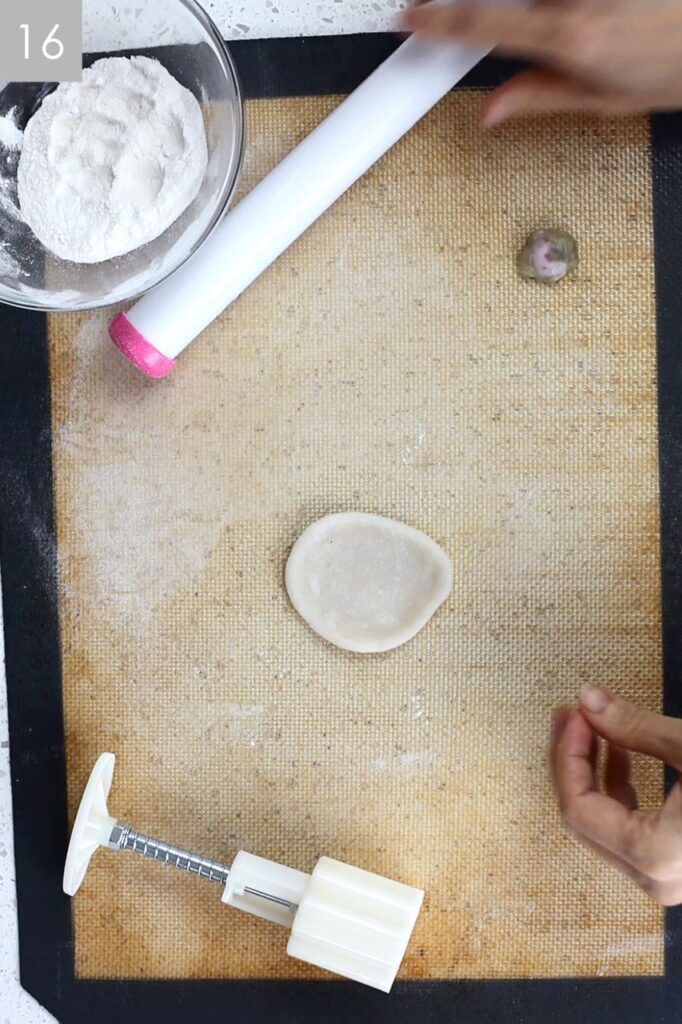
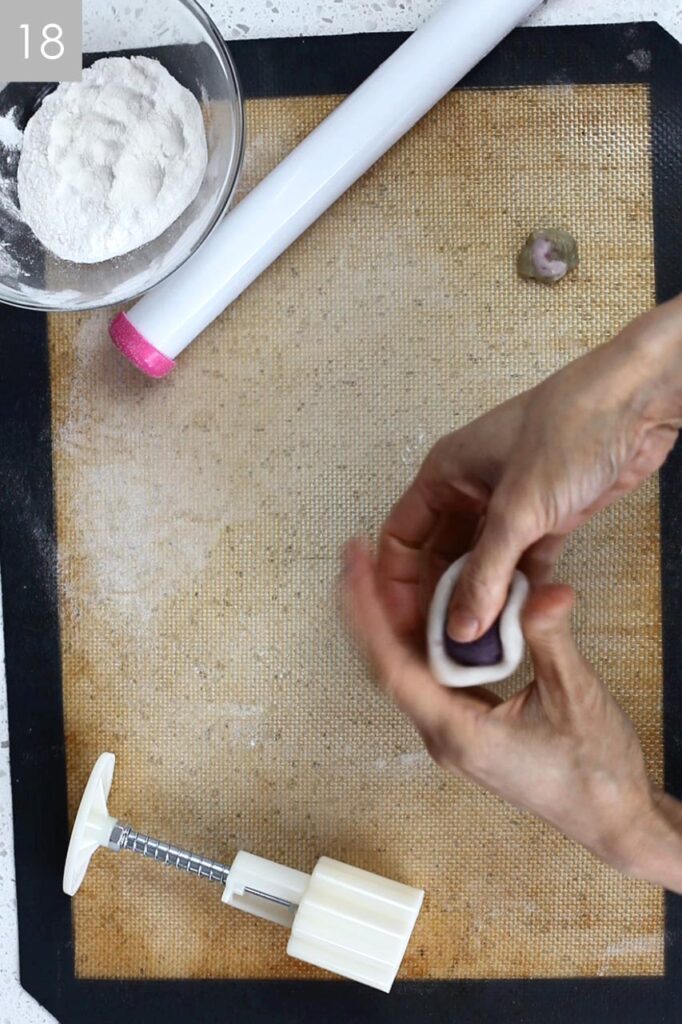
- Take 12g of the white wrapper dough and roll into ball. Dip in glutinous rice flour and dust service of silicone mat or plastic wrap on your kitchen counter. Then flatten the ball into about 2 inch diameter.
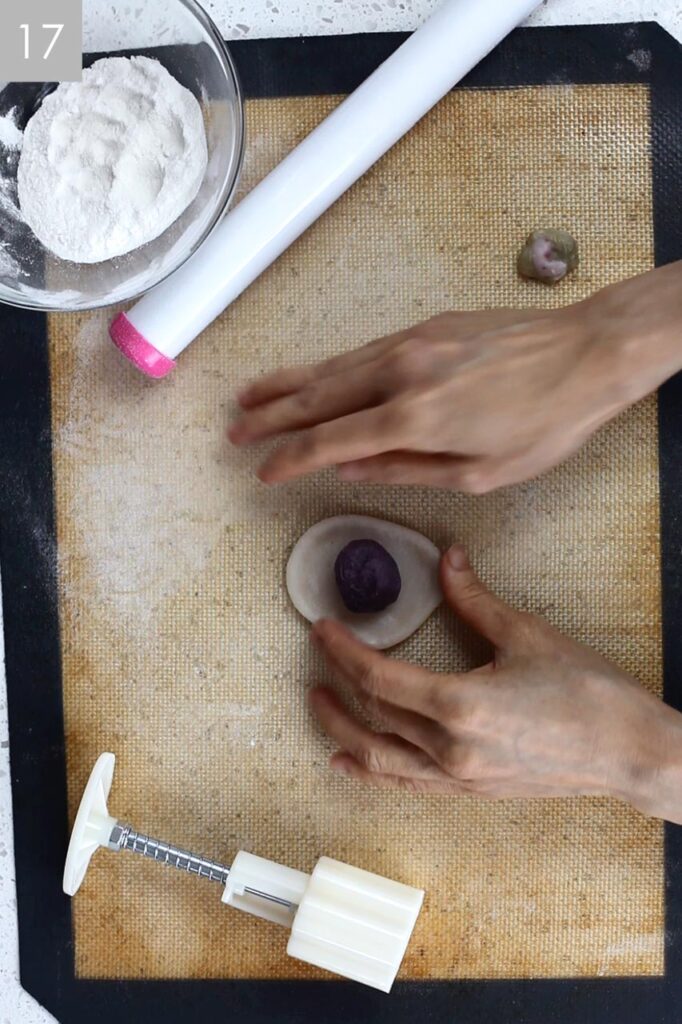
- Place filling in center of the wrapper and beginning wrapping between thumb and index finger while pushing down on the filling to seal. View video for details.
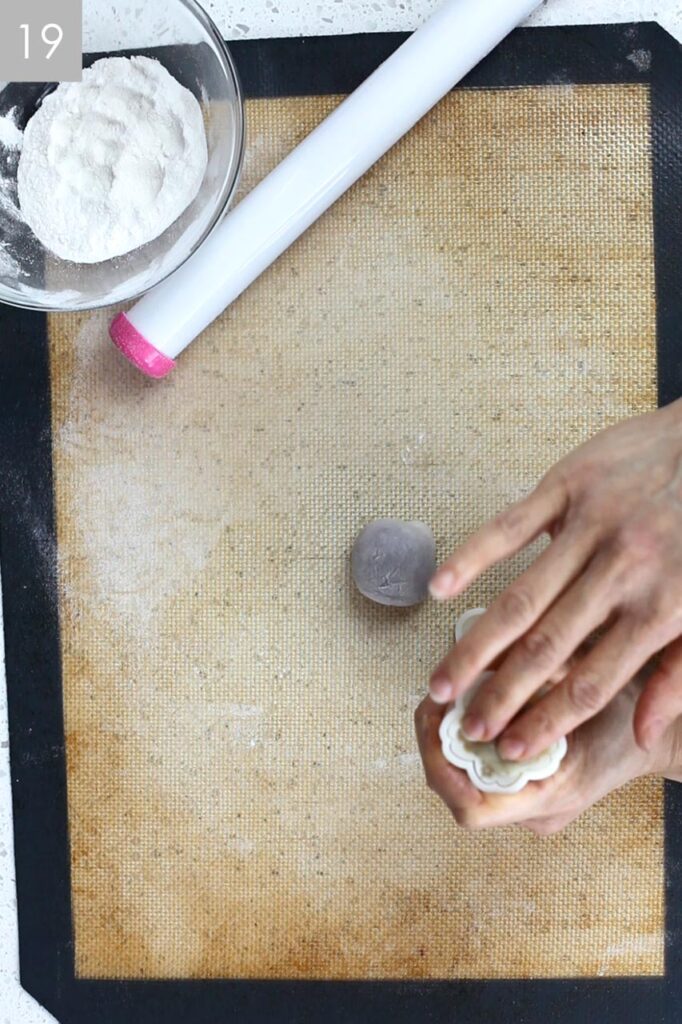
- Measure 2g each of colored wrapper dough and mix colors. Place inside the top of the mooncake stencil and press against the flower mold
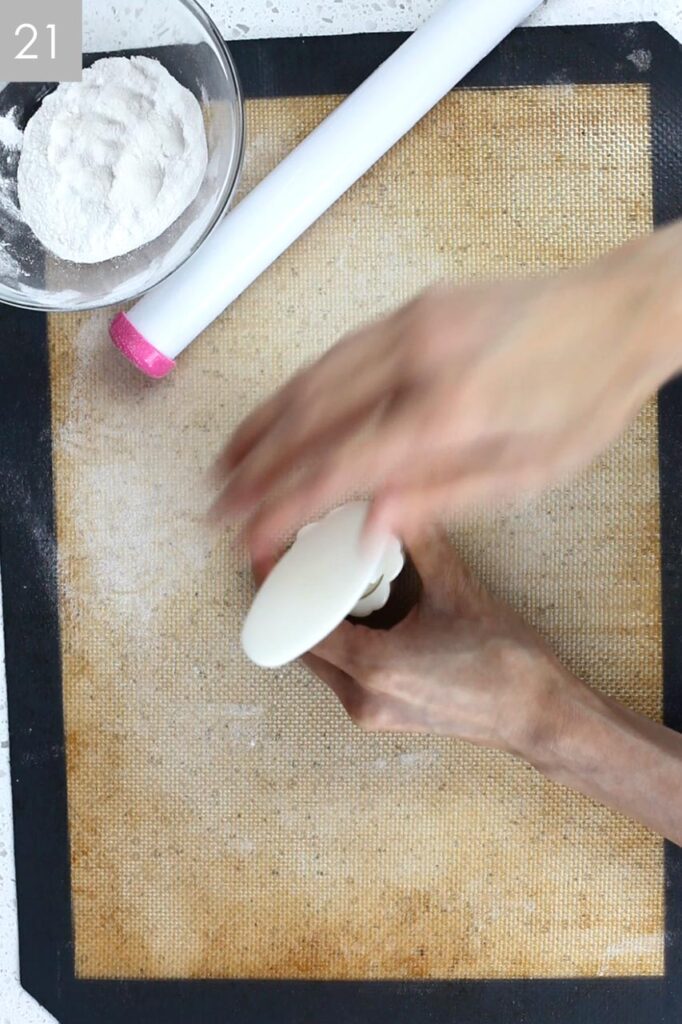
- Insert the assembled mooncake into he mold.

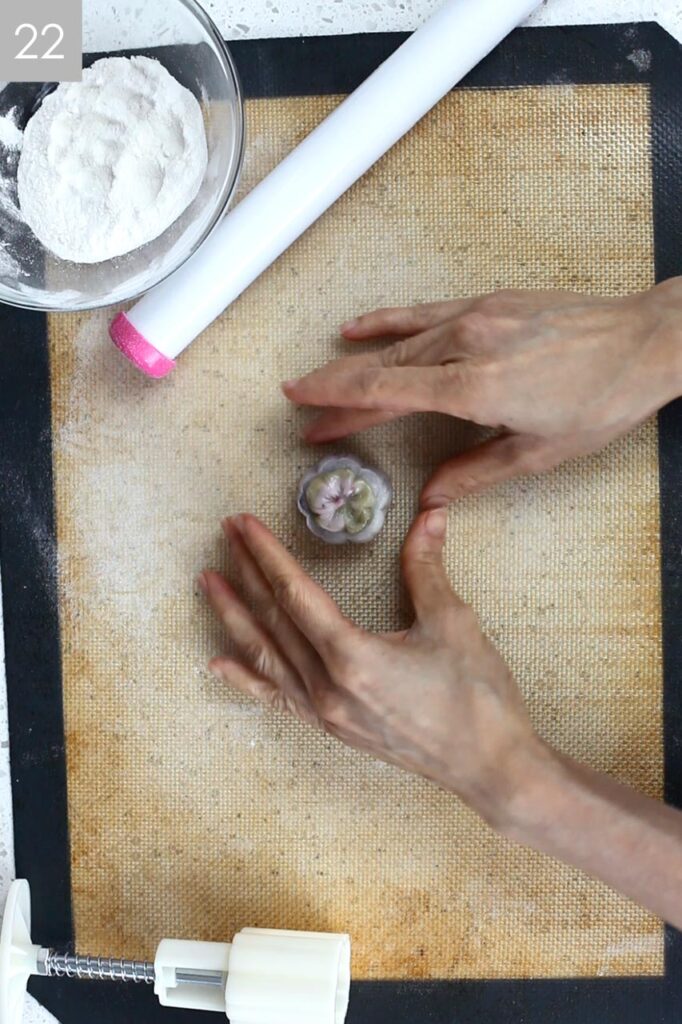
- Hold mooncake mold firmly down and press on to mold a few times. Push to remove mooncake carefully.
- Repeat these steps until you have about 42 snow skin mooncakes.
Eat immediately and enjoy!
These are best eaten fresh. Store any leftovers in plastic wrap to prevent hardening in the fridge. If mooncakes harden let them sit out at room temperature to retain texture. Can also microwave for a few seconds to soften the skin again.


Vegan Snow Skin Mochi Mooncakes
Ingredients
Method
- Peel and chop the purple sweet potatoes. Weigh them to make sure 300 g
- Place steamer basket in a large pot and bring to boil.
- Place potatoes into basket and steam for 15 – 20 minutes or until they are fork tender.
- Place potatoes, and all the filling ingredients into a food processor. Process until completely smoothed.
- Place ube mixture into a non stick pot and cook over medium heat for about 8 – 12 minutes or until mixture has thickened and pulls from the sides. See video for details
- Place in a heat-proof container and cover with plastic wrap. Let cool in the fridge for about 1 hr
- Add the dry ingredients, glutinous rice, rice flour, arrowroot starch to a large heat safe bowl and mix well.
- Add the almond milk, maple syrup, and melted coconut oil to the bowl and mix well.
- Add a shallow wire wrack to the bottom of a large pot and fill it with water. Bring to boil and add the heat-safe bowl with the wrapper mixture. Steam for 25 – 30 minutes or until there is no liquid coming out when you poke the mixture.
- Transfer to an electric mixer with the dough attachment. Knead the dough for 5 minutes. If no electric mixer let the dough cool down and wrap in plastic wrap to prevent sticking and knead dough with hands.
- Transfer dough to plastic wrap and wrap dough. Place in fridge to cool for 1 hr
- Place 35g of glutinous rice flour in small nonstick pan. Cook for about 4-5 minutes until it turns slightly yellow in color. Make sure to keep stirring to prevent burning. Let cool, this will be used to dust dough to prevent sticking.
- Get cooled filling and weigh 12g of filling. Roll into ball and place a plate that is wrapped in plastic wrap. Continue to roll balls. Cover the filling balls with plastic wrap and place back in fridge.
- Get cooled wrapper dough and cut about 1/4 of the mixture. Cut this in half and add 1/4 tsp matcha powder to one half. Add a pinch of pitaya powder to the other half.
- Take 12g of the white wrapper dough and roll into ball. Dip in glutinous rice flour and dust service of silicone mat or plastic wrap on your kitchen counter. Then flatten the ball into about 2 inch diameter. Place filling in center of the wrapper and beginning wrapping between thumb and index finger while pushing down on the filling to seal. View video for details.
- Measure 2g each of colored wrapper dough and mix colors. Place inside the top of the mooncake stencil and press against the flower mold
- Insert the assembled mooncake into he mold. Hold mooncake mold firmly down and press on to mold a few times. Push to remove mooncake carefully.
- Repeat these steps until you have about 42 snow skin mooncakes.
- Eat immediately and enjoy!
Video
Notes
- a can of coconut milk
- 1/3 cup of date sugar
- salt
- sweet potato powder for color
- butterfly pea powder for color
- rice flour
- maple syrup
- matcha powder
Did You Make This Recipe?
Mention @refreshing.bites on Instagram and hashtag it #RefreshingBitesRecipe